R e n o v a t i o n J o u r n a l
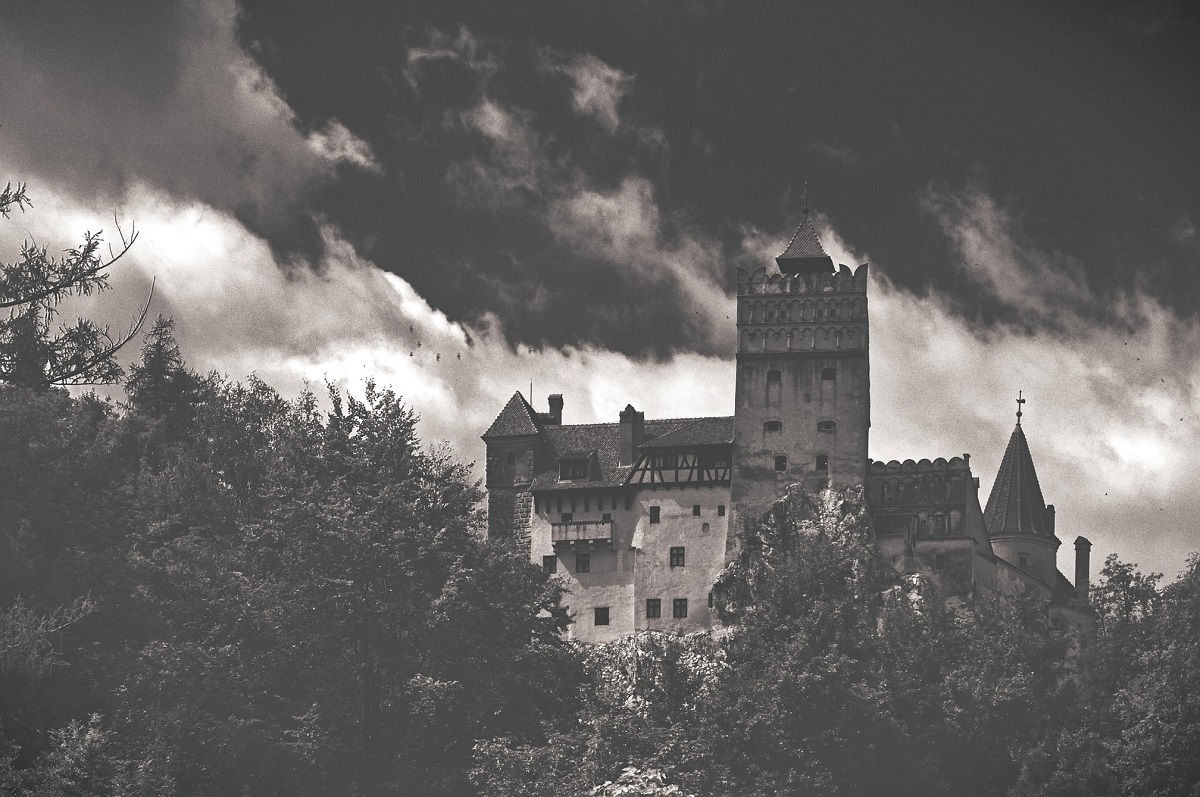
Schloss Cochem - The Painting
~~~
20.1 ~ I n t r o d u c t i o n
(March 4, 2022)
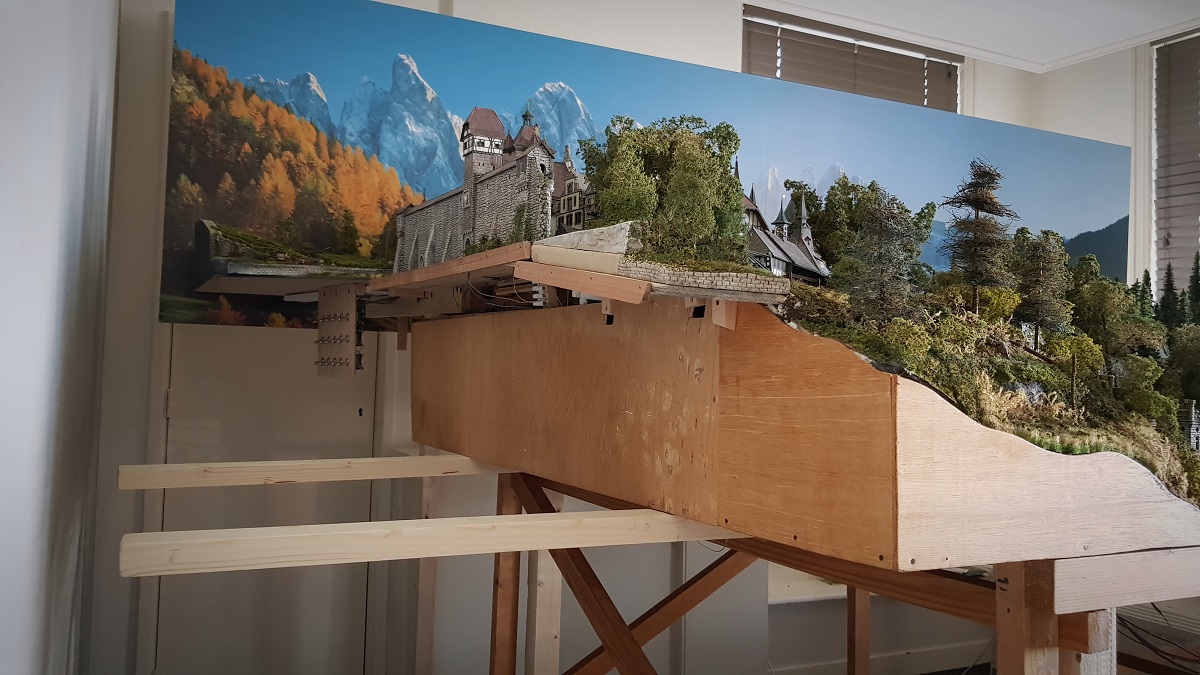
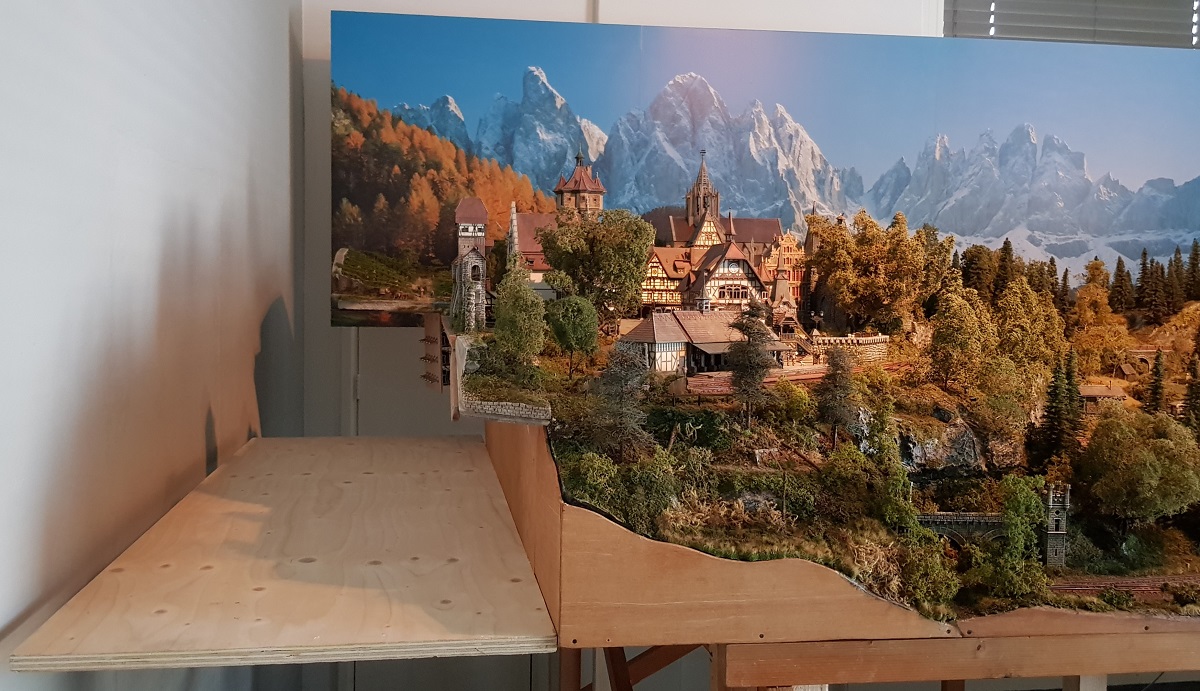
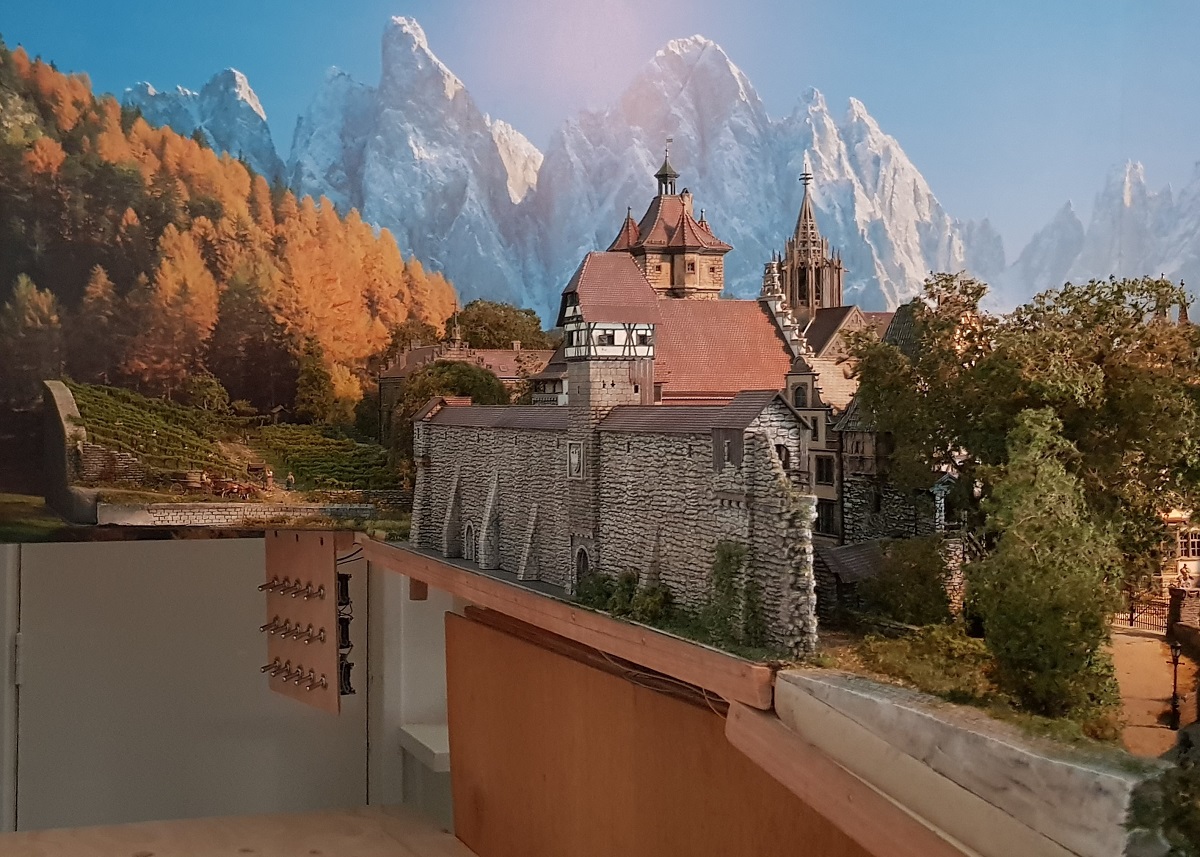
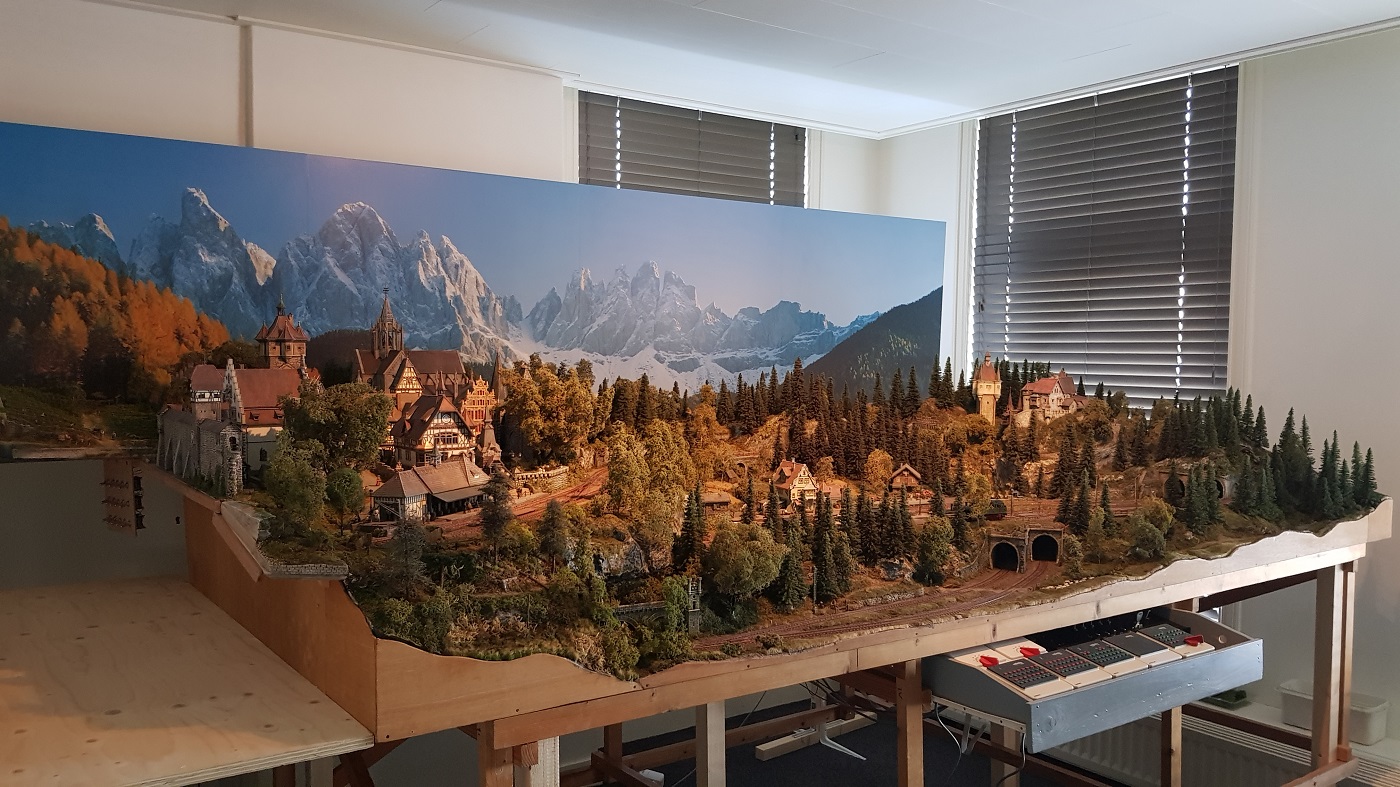
After a few weeks of enjoying the latest addition - the new city wall in the west -
where I once again noticed that the background poster has only a limited size, and does not extend to the side,
I got the idea to fill in the void behind the western city wall.
Instead of a poster, I thought of a kind of rooftops that protruded above
the wall to create depth. An additional Altstadt or something like that...
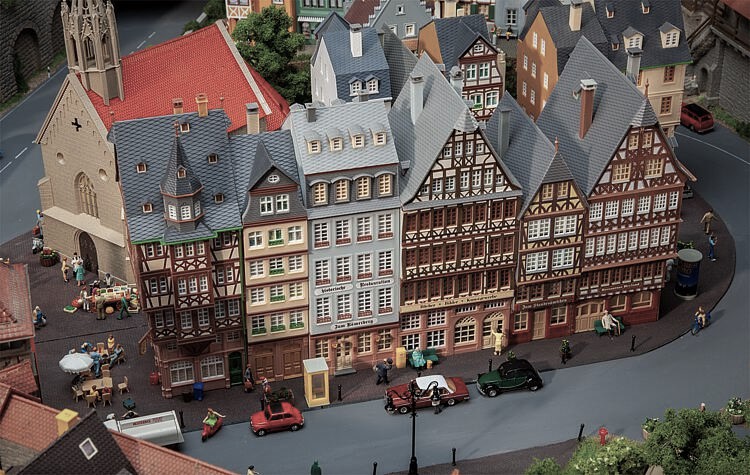
But definitely not Faller's 'six-pack' Stadthäuser Römerberg-Ostzeile or Kibri's Miltenberg.
I wanted a new challenge.
So, one thing led to another.
And although I initially spoke out against Bran Castle in an unmistakable way, it now seems like a great activity for the summer to come.
A new project is born...
which I could not have imagined what an impact this would have on me at the end of this year!
~~~
20.2 ~ The Foundation laid
(Saturday March 3, 2022)


It's gonna be... S o m e t h i n g!
~~~
20.3 ~ Unboxing
(Friday March 18, 2022)
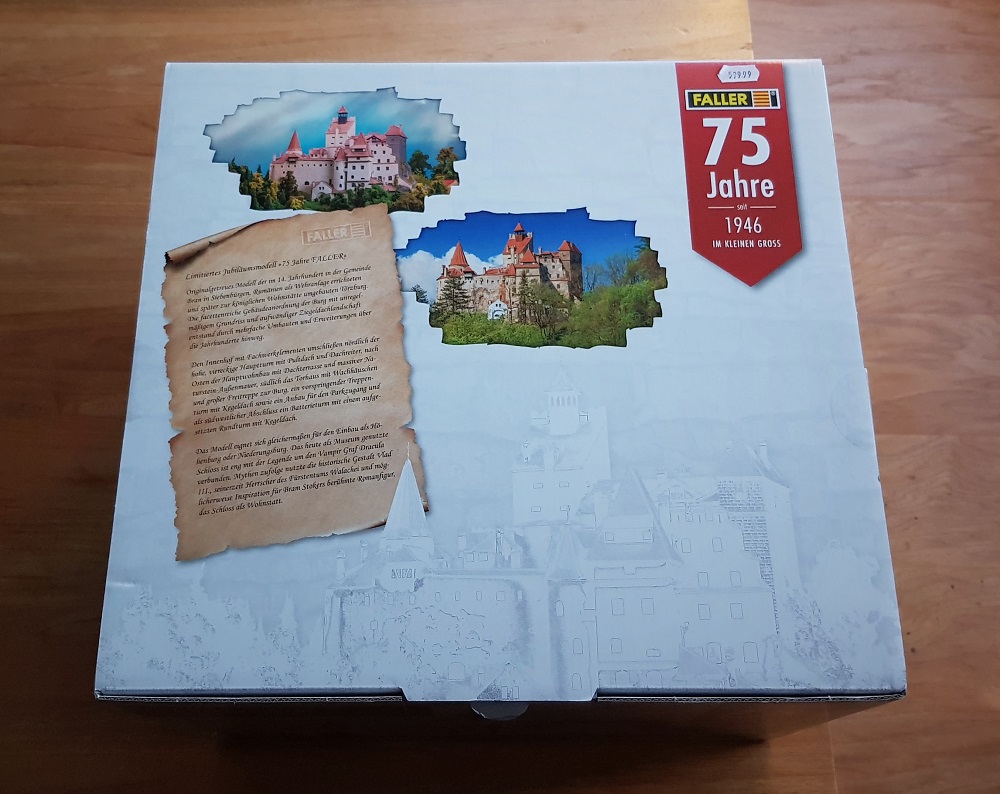
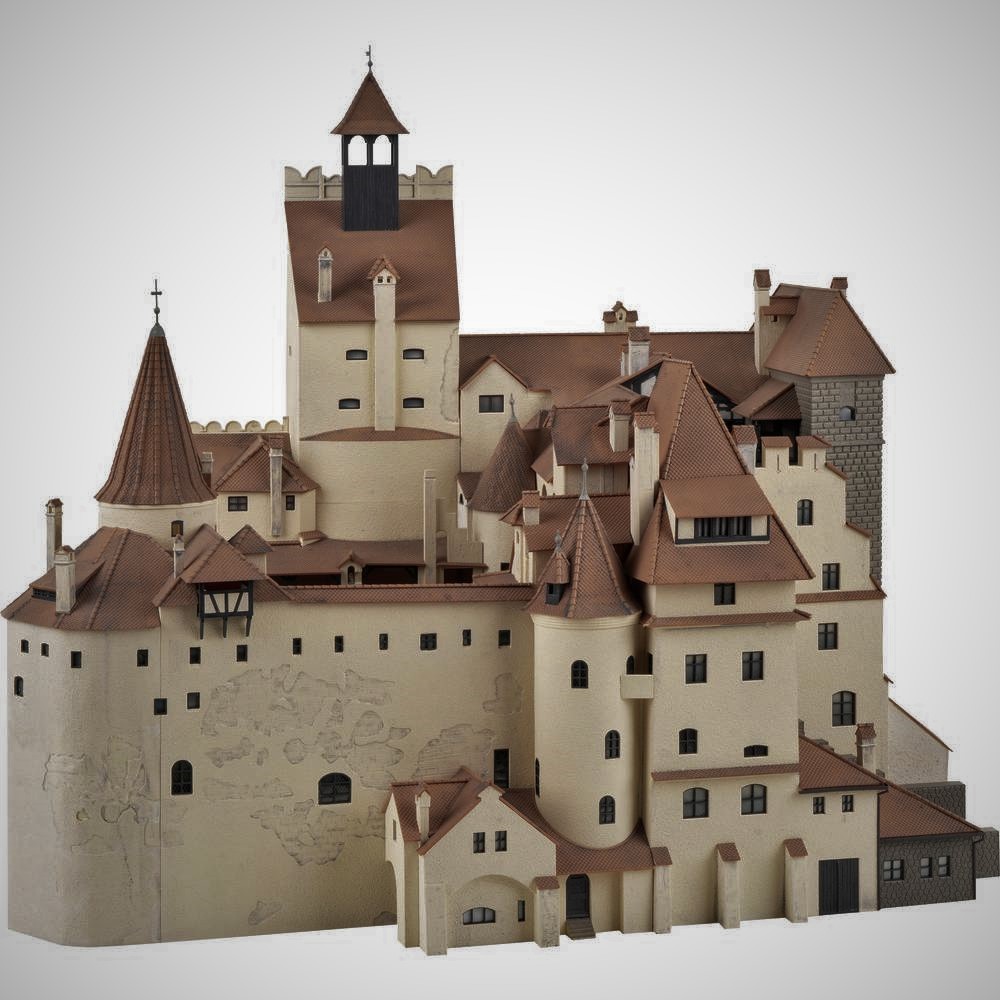
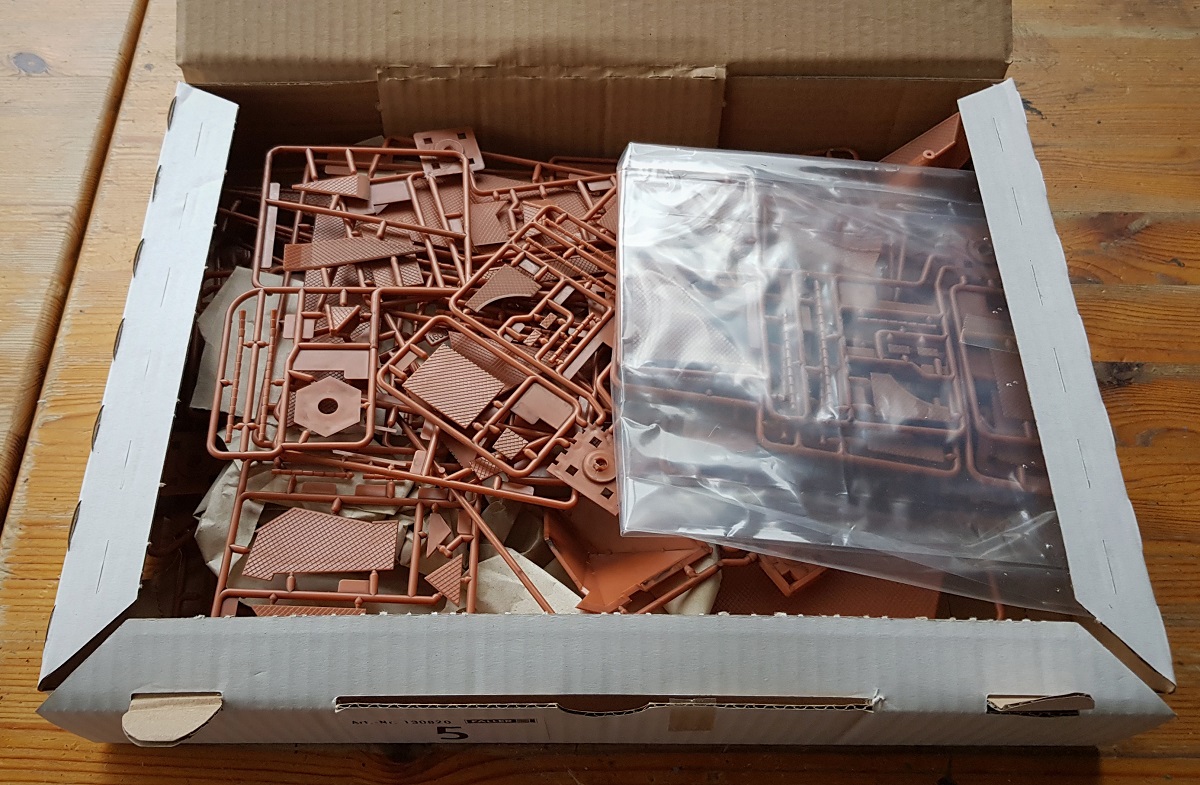
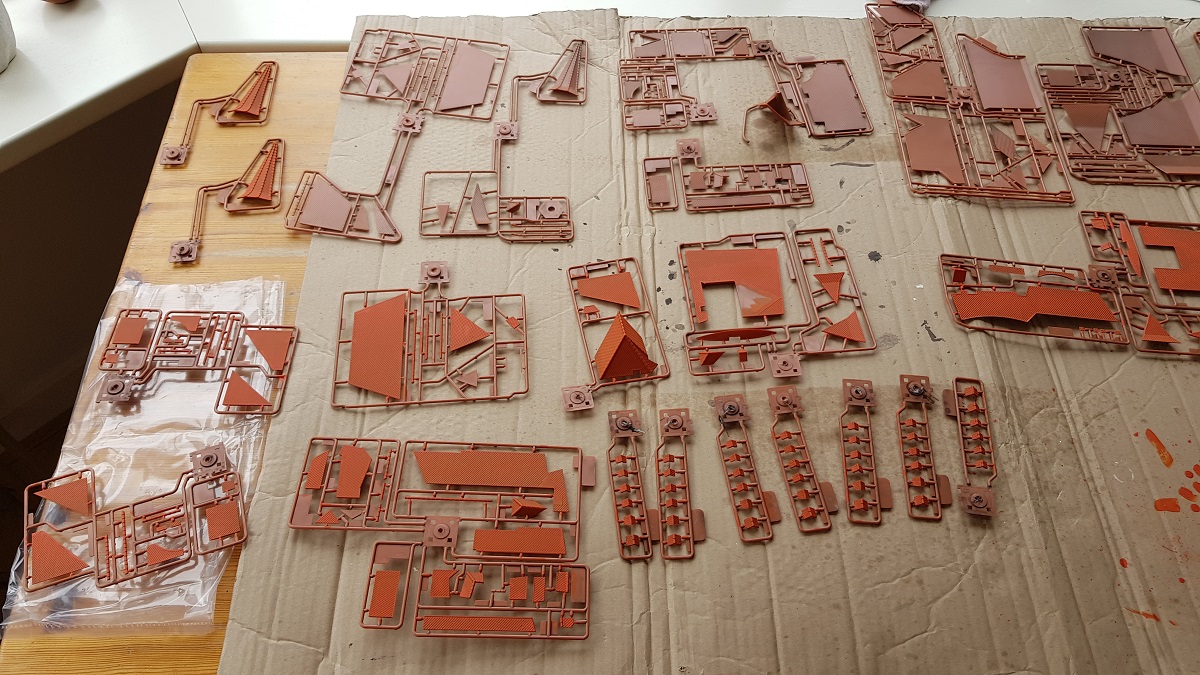
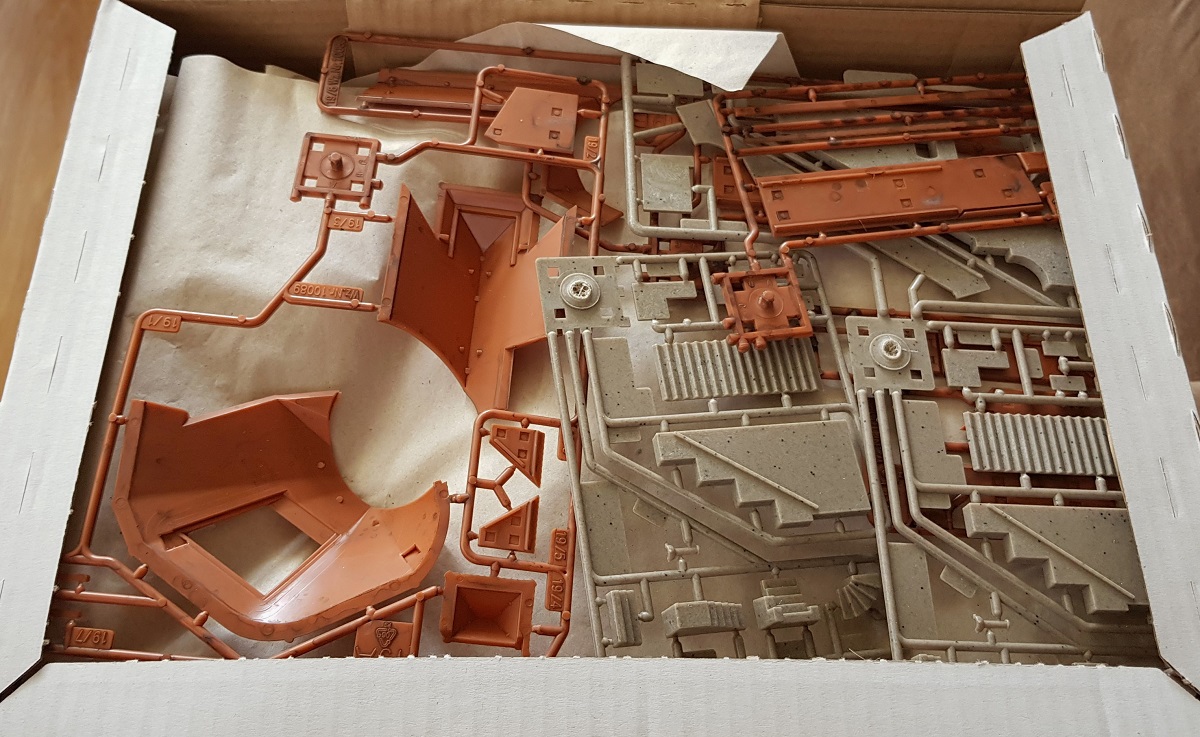
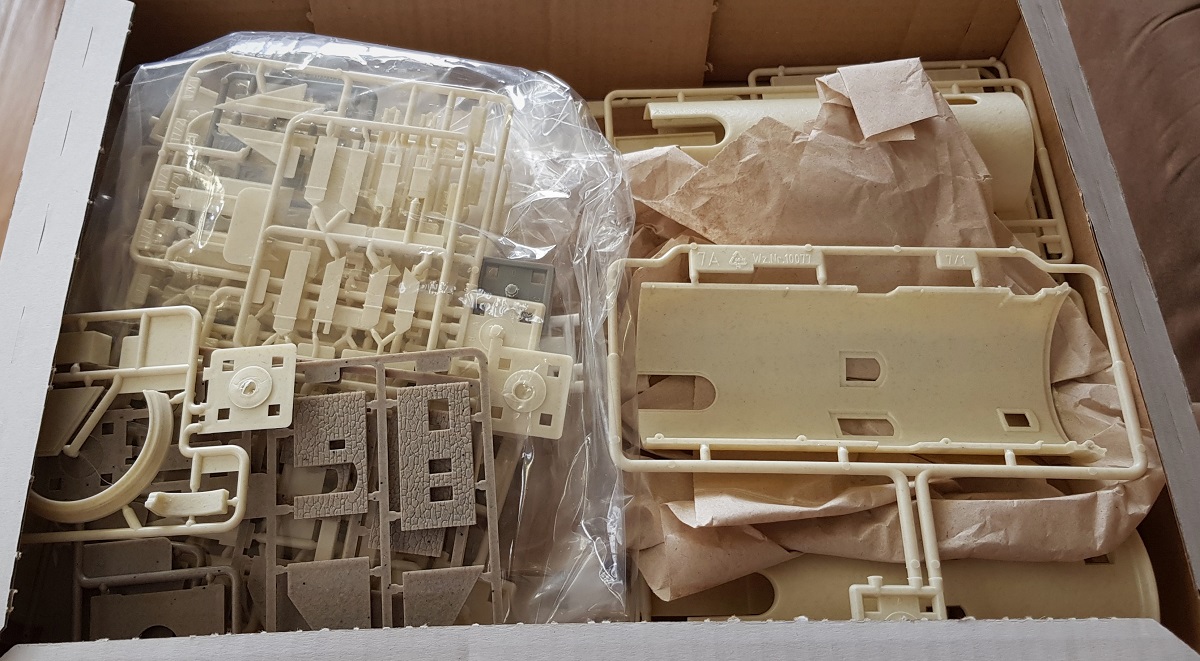
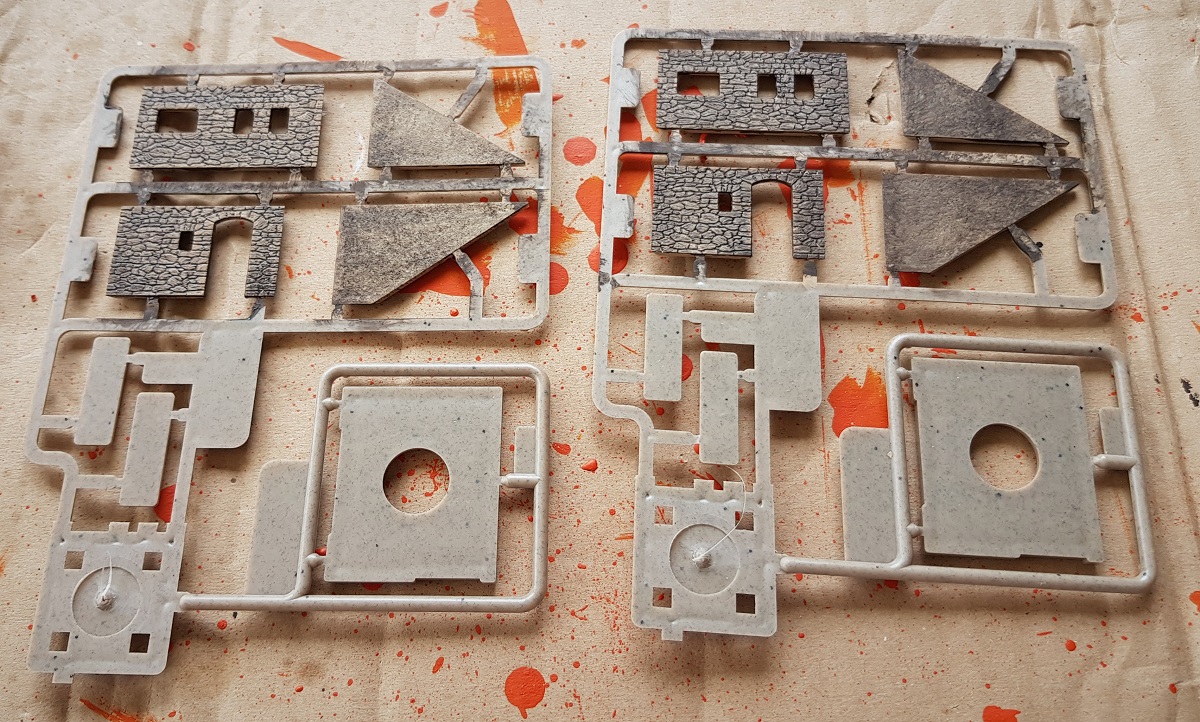
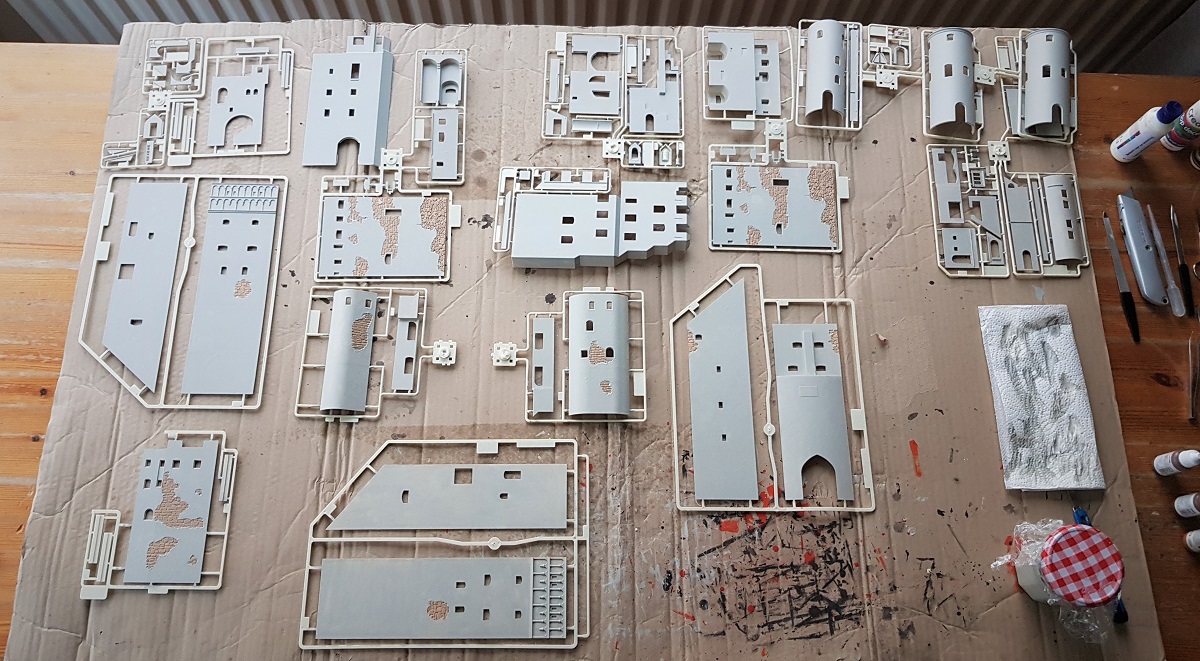
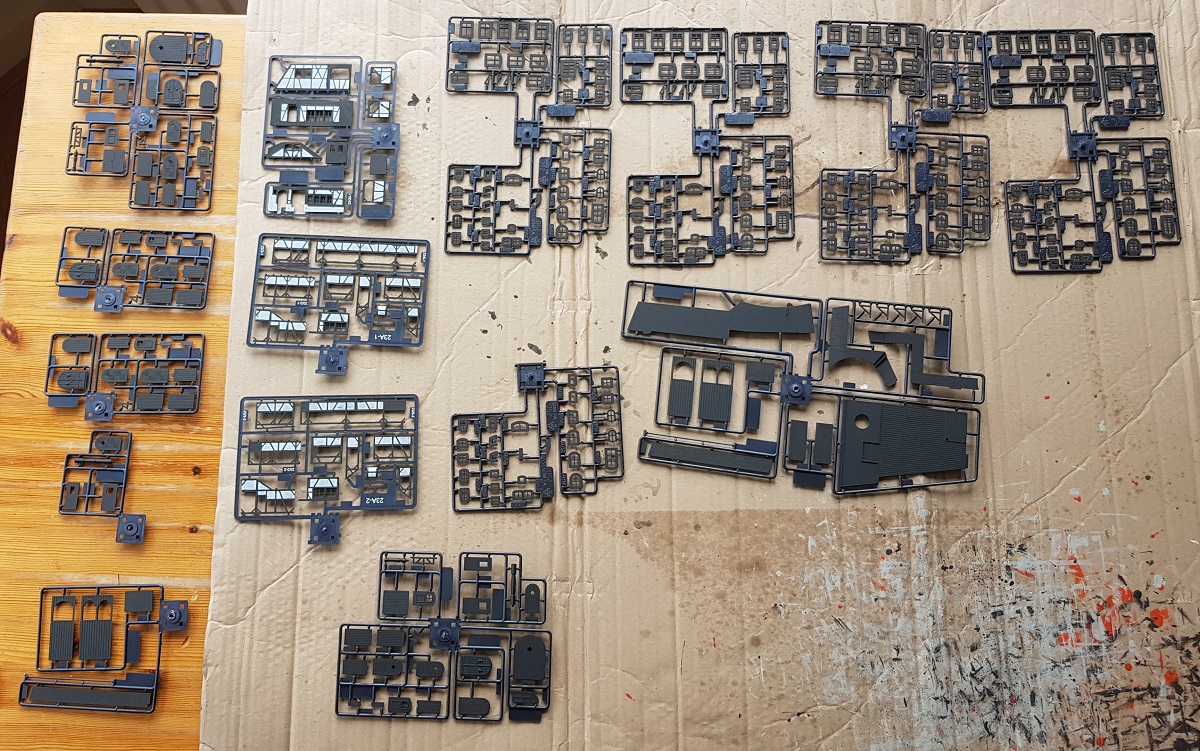
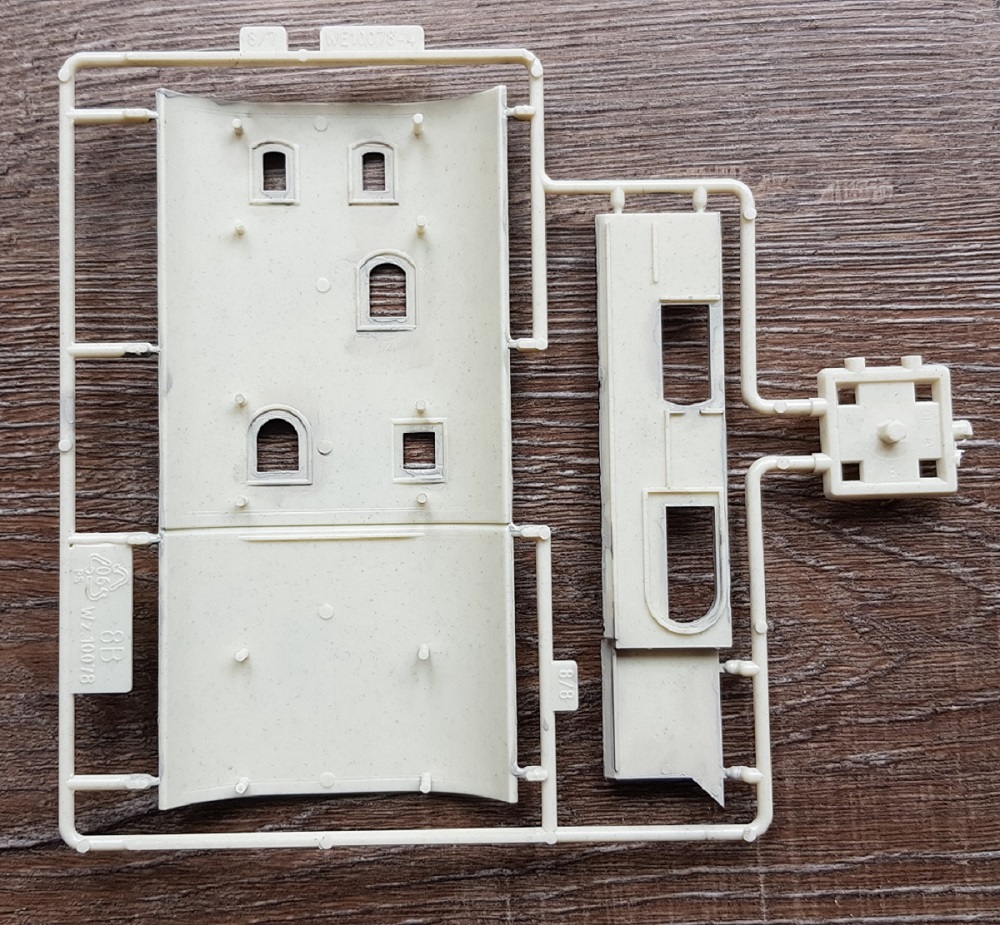
On Friday March 18th I picked up my copy of Schloss Bran (Faller 130820) with a 10% discount.
It's the most expensive 'plastic' I have ever purchased... not opened yet, while working on a huge photoshoot.
~~~
Not before March 30th, I opened the box for a first exploration...


30.3.2022
~~~
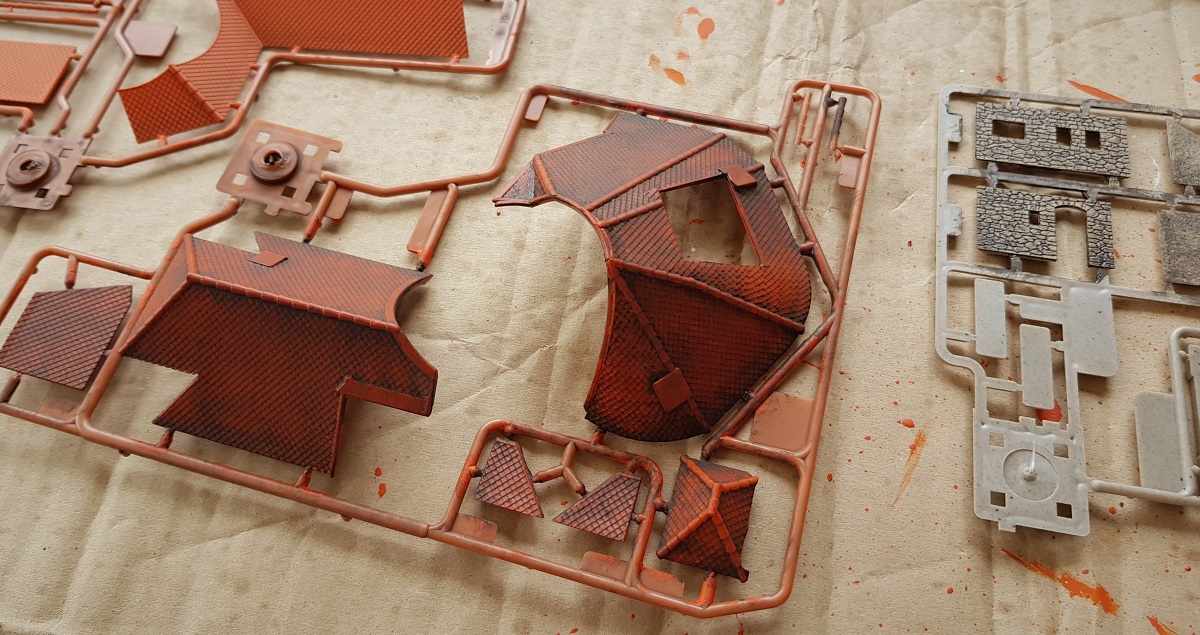
20.4 ~ Painting the Roof
(Friday April 1, 2022)
31.3.2022
~~~
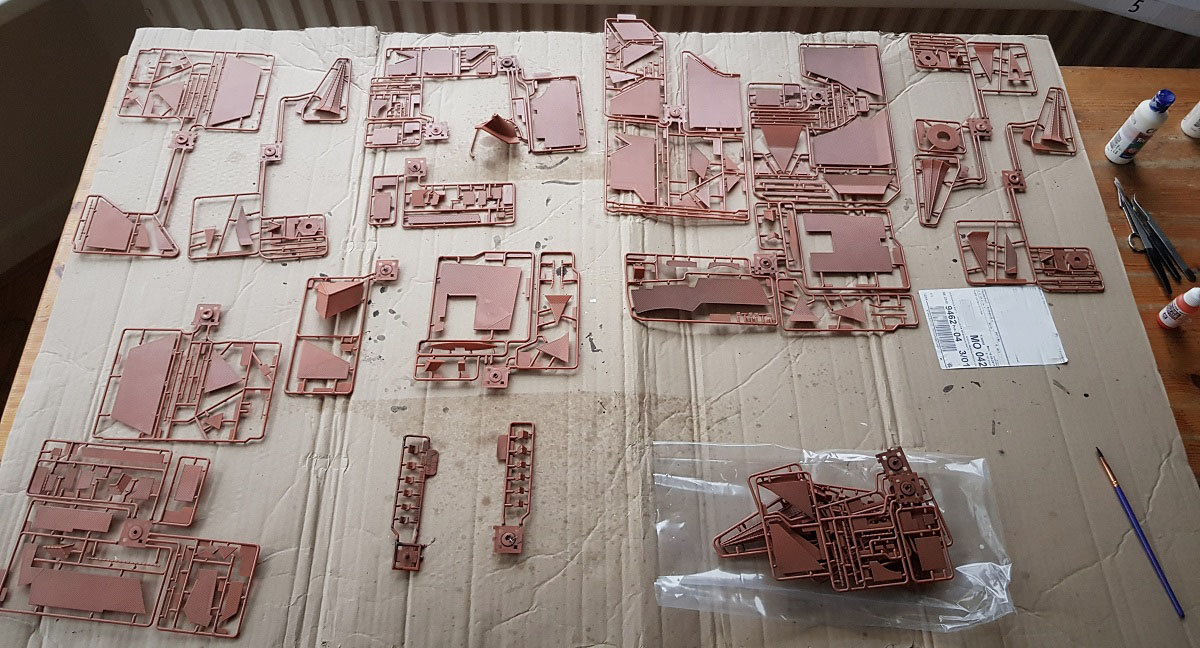
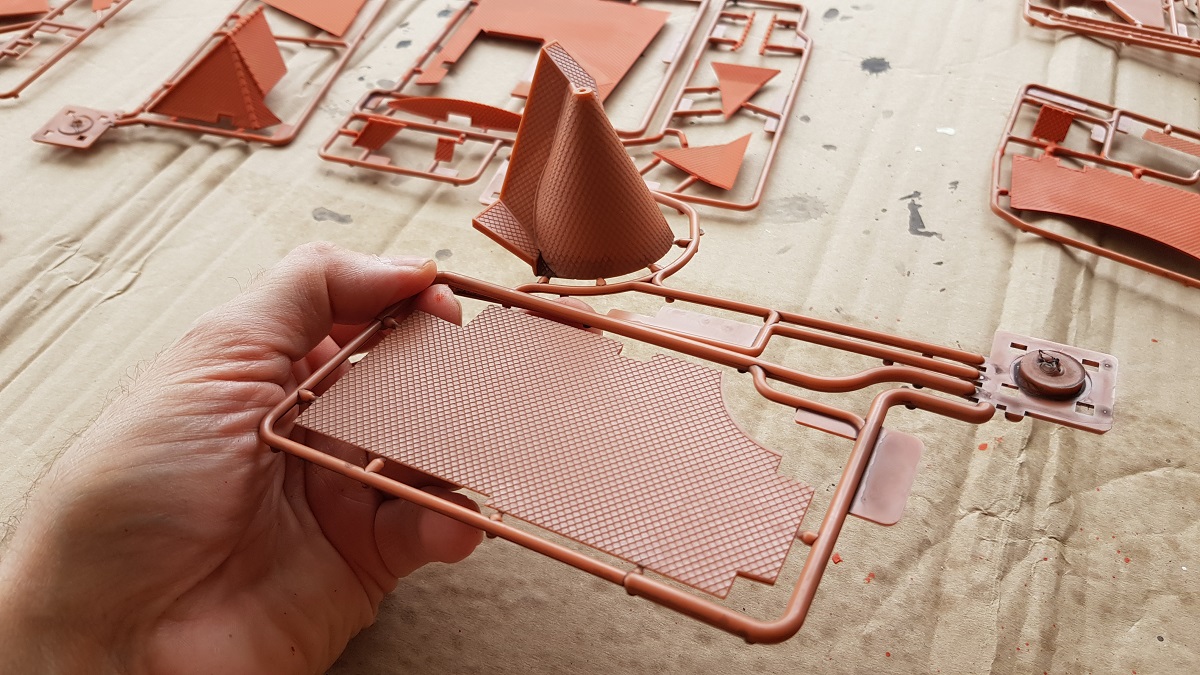
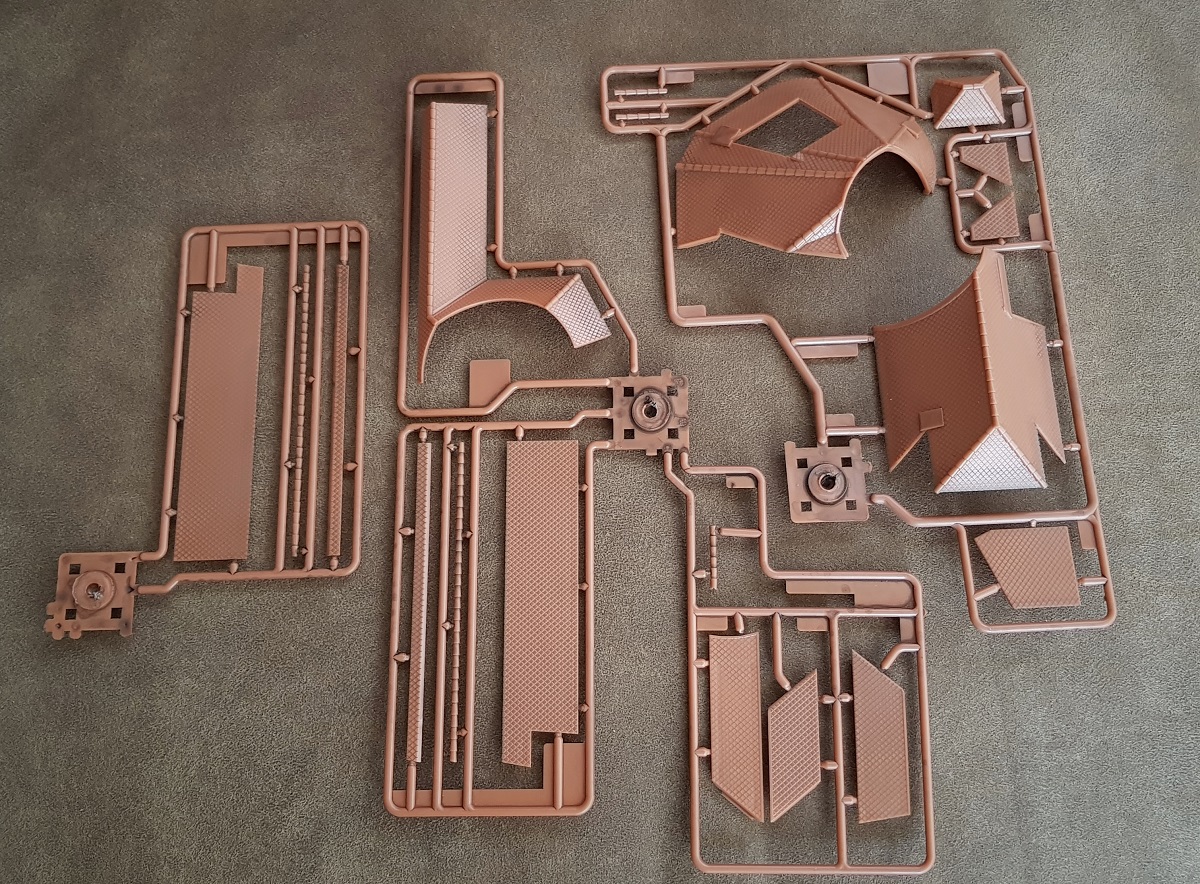
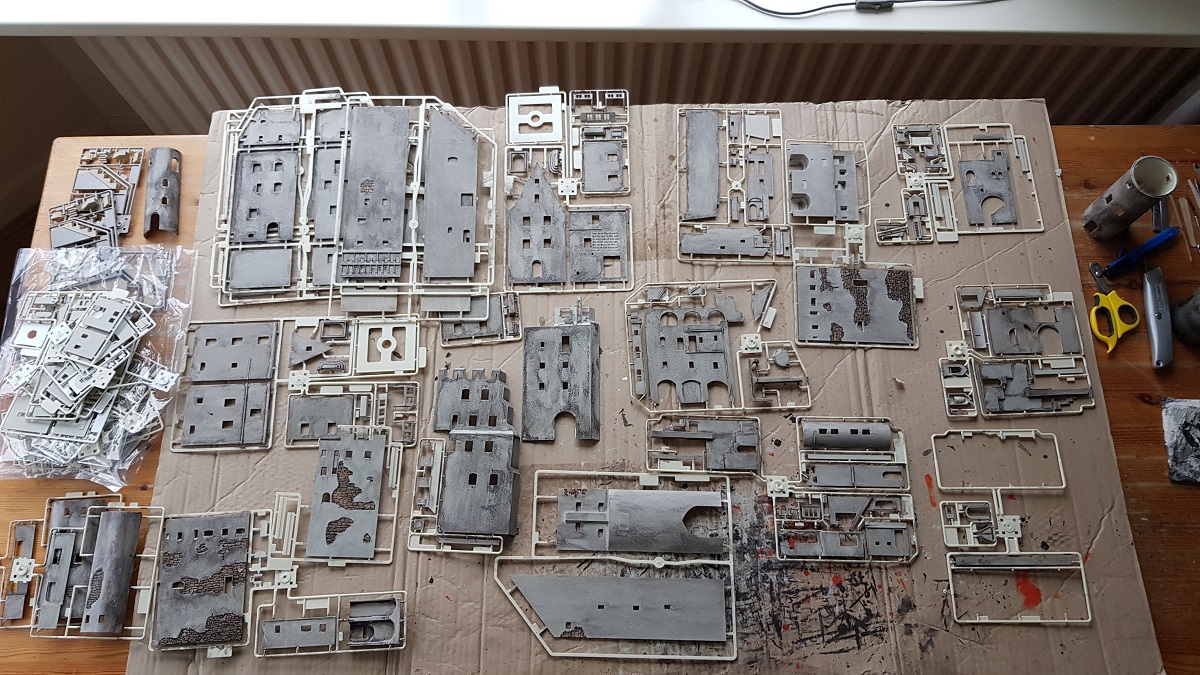
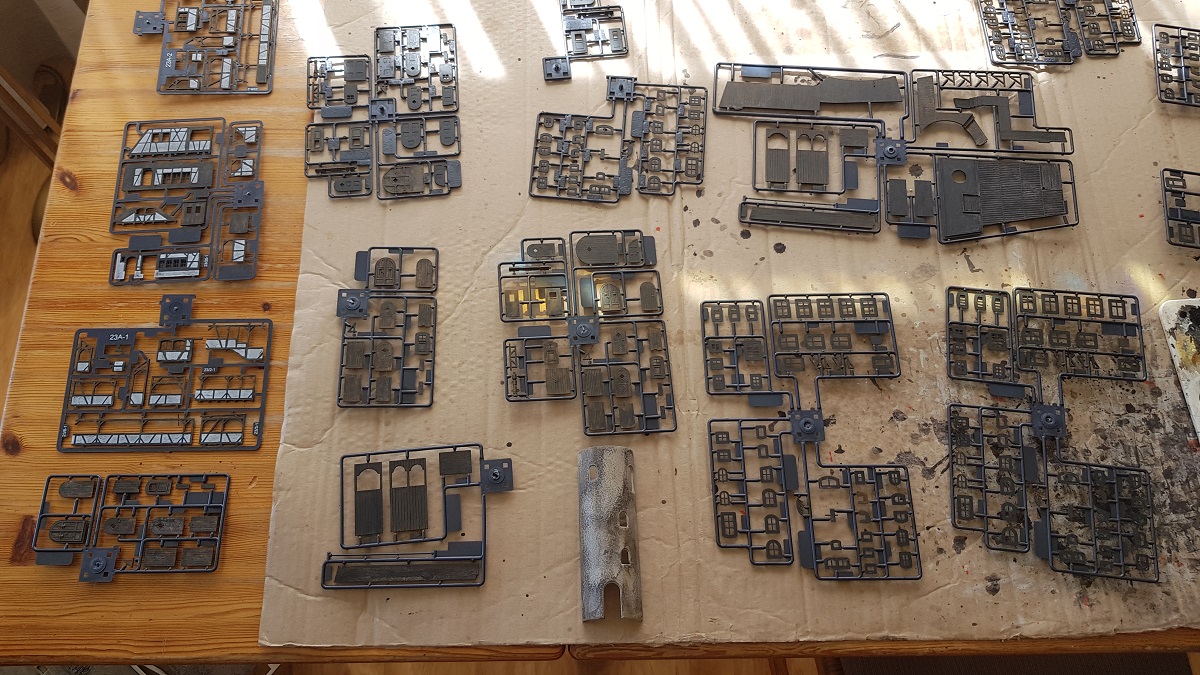
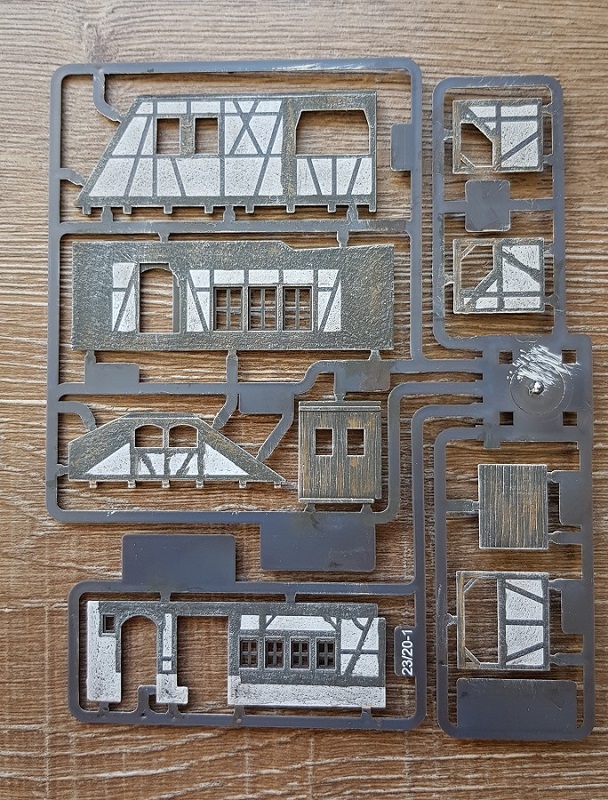
Yesterday, I opend the boxes one by one, and today I decided to start painting the roof parts first.

Good toolings are imperative.
Even though Faller has already applied an aging effect from the factory, the roof parts still look certain plastic.
The rest won't be much different. That's why I'm going to manually paint and age all parts of this magnificent building.
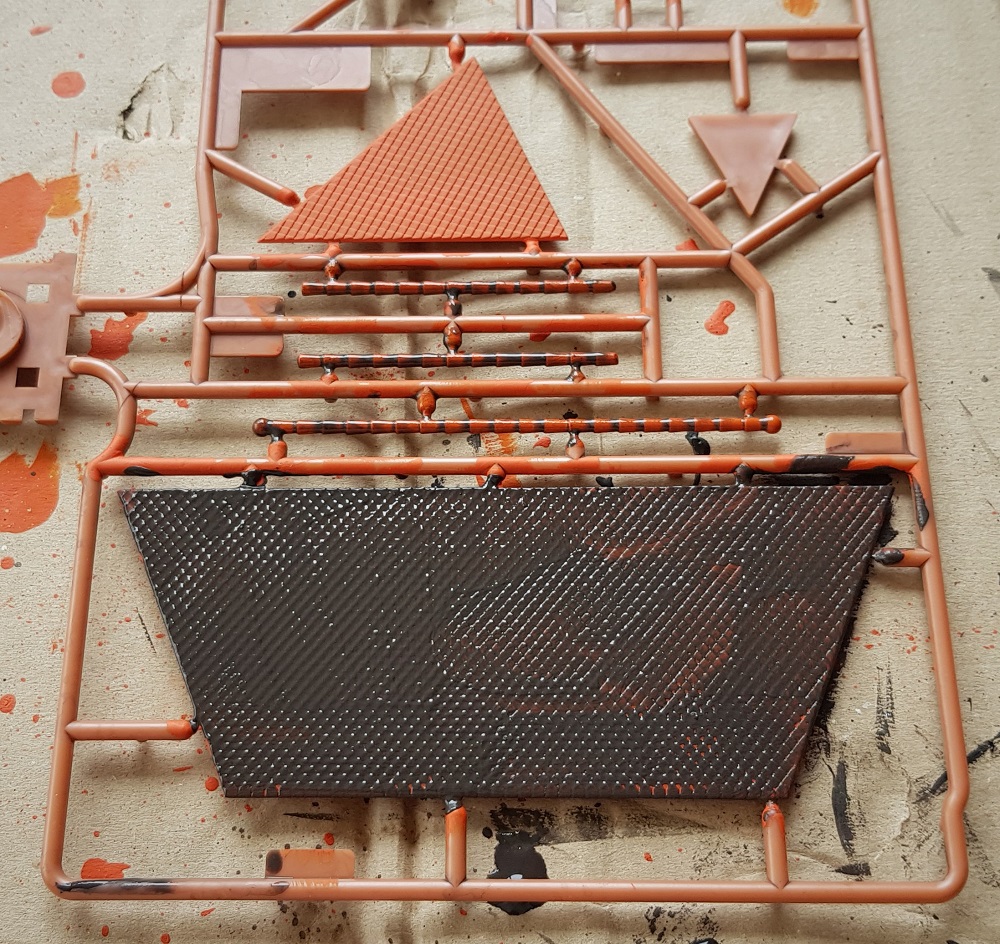
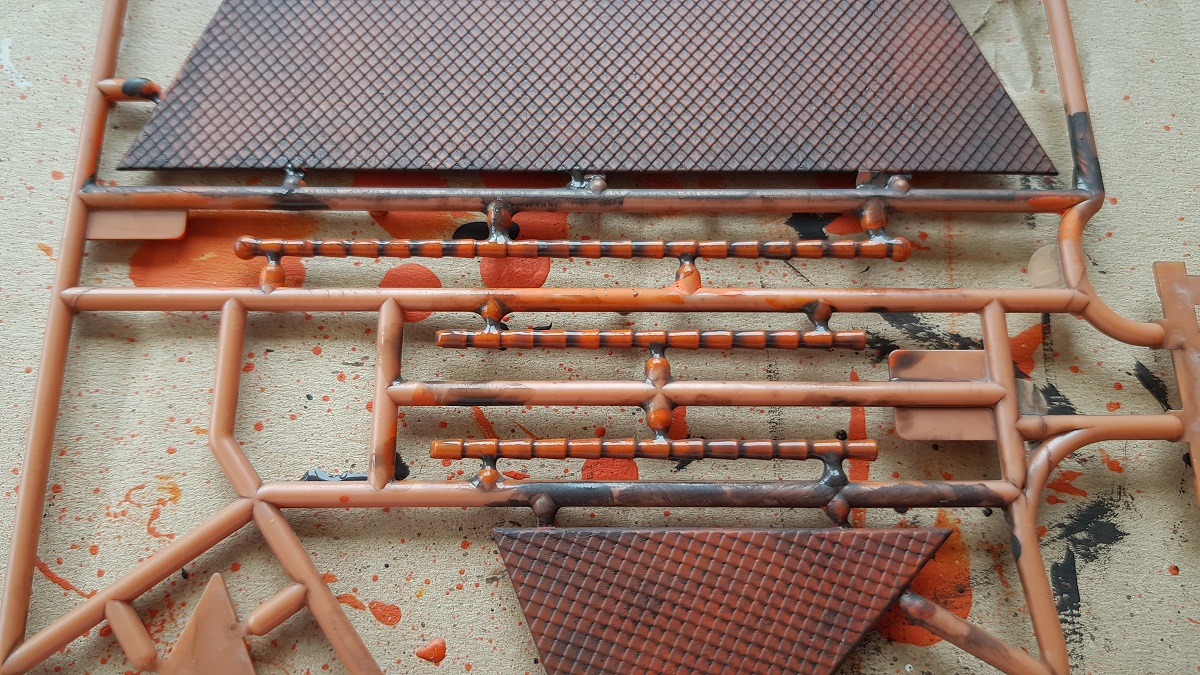
Since I developed my own style in the aging of classical buildings, I have again opted for an orange base for the roof tiles.
After that, a lasur coating will bring about an aging effect, after which the whole is finally topped off with dry white brushing.
The next pictures will tell their own tale...


~~~
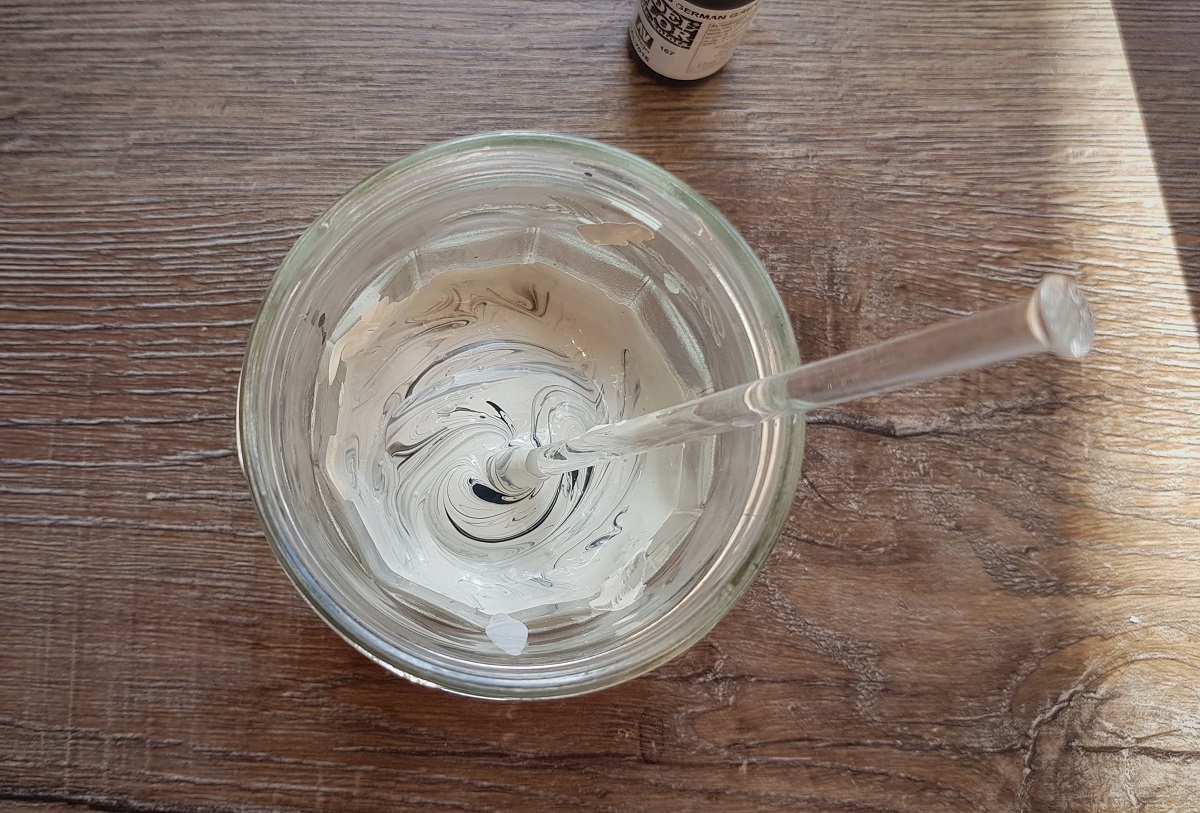
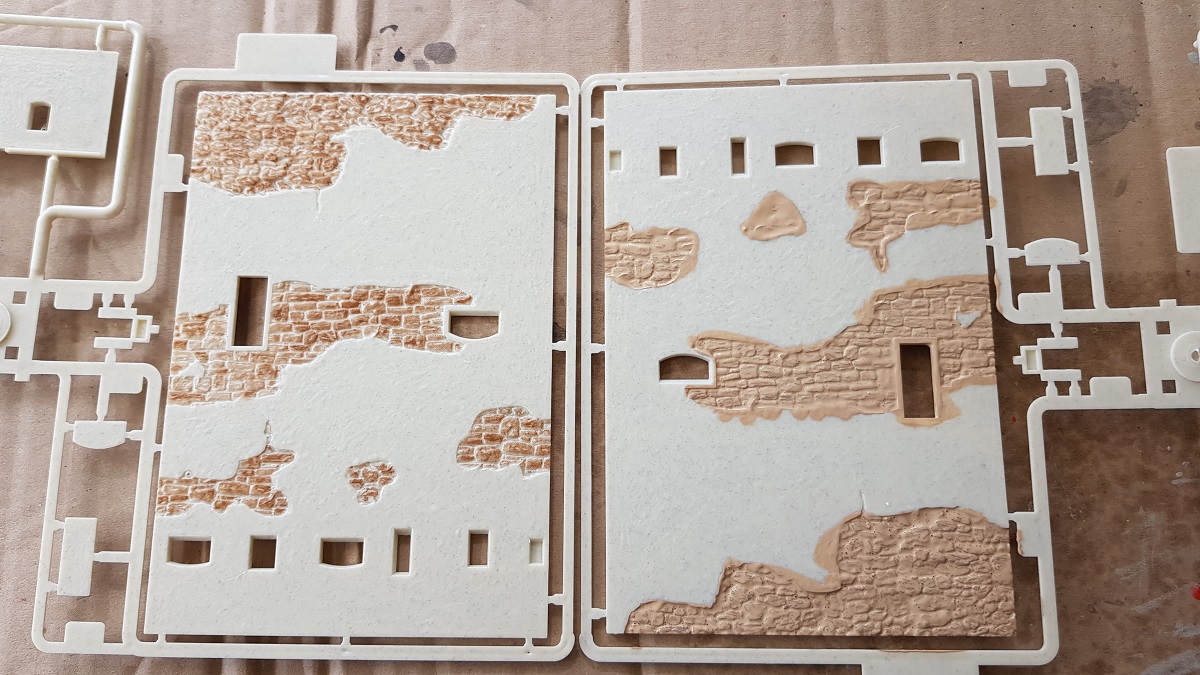
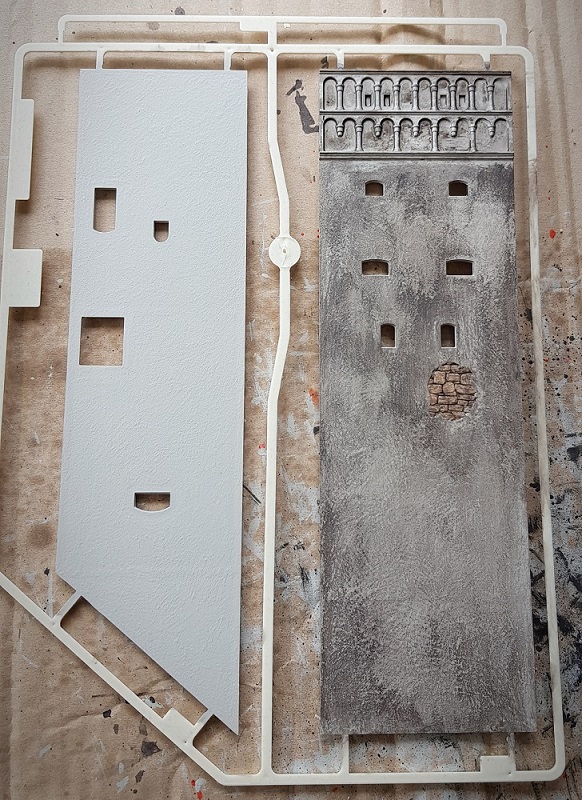
The stone parts, which are not plastered, I give - from the well-known jam jar - a beige primer layer.
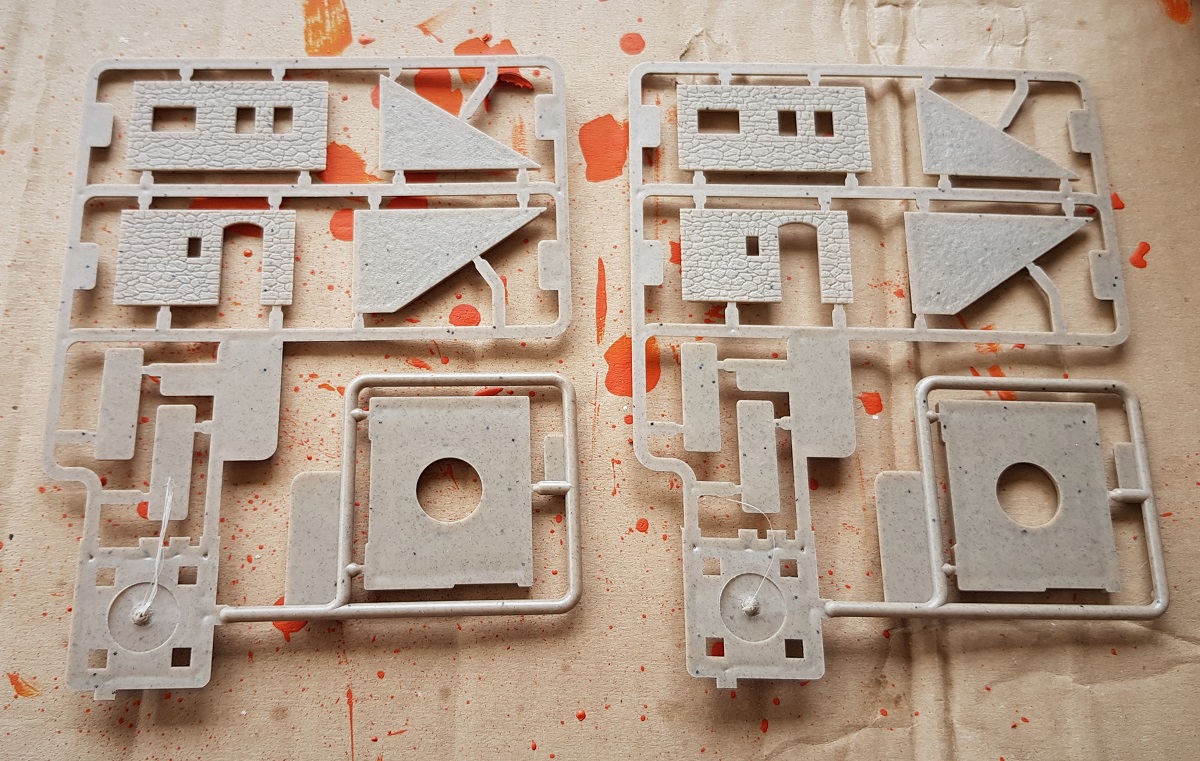
Applying the lasur coating and wiping it off again should be completed in less than one minute.
Hence, taking a photo has to be done very quickly...
5.4.2022
~~~
20.5 ~ Painting Walls and Stonework
(Saturday April 9, 2022)
8.4.2022
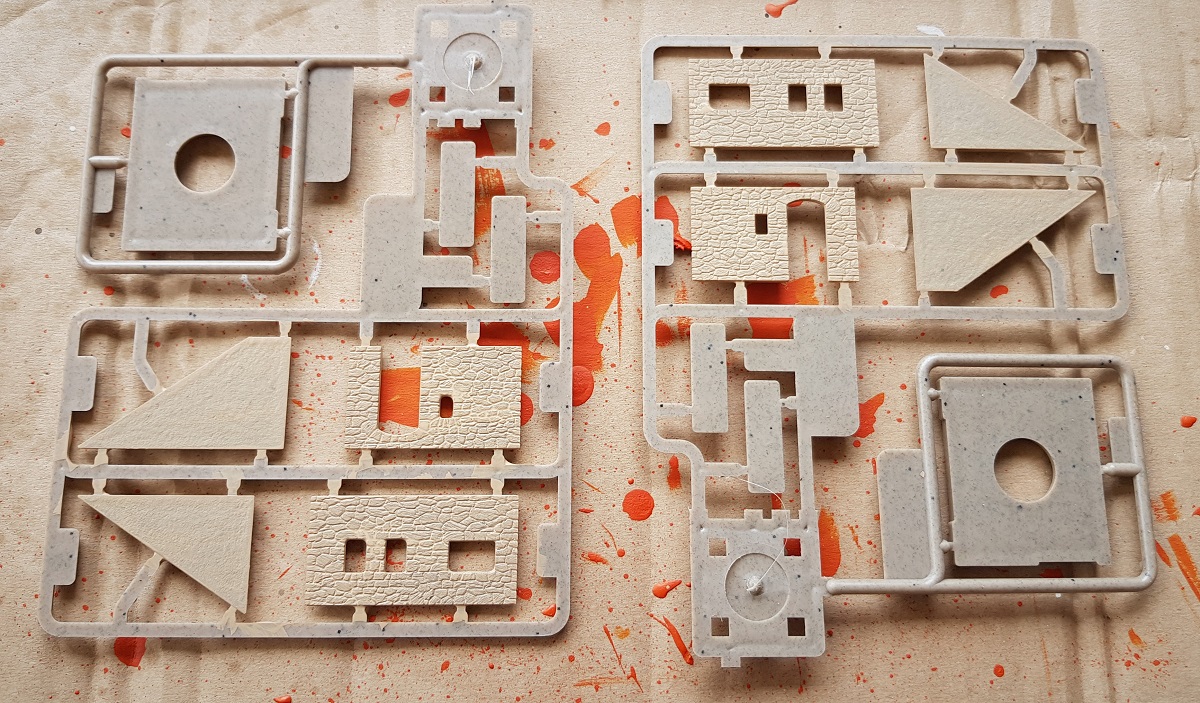
Where I still painted the floor tiles with the well-known sandstone orange-beige paint
- this paint is a remnant of the monastery that I kept in a jam jar -
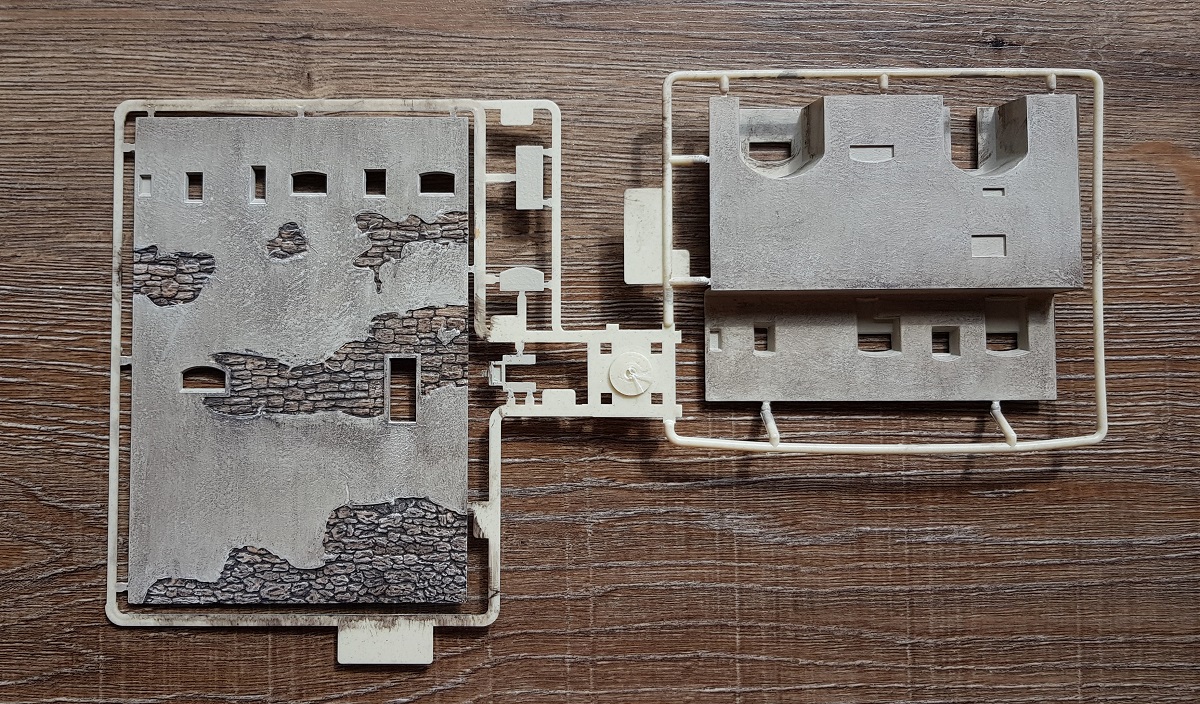
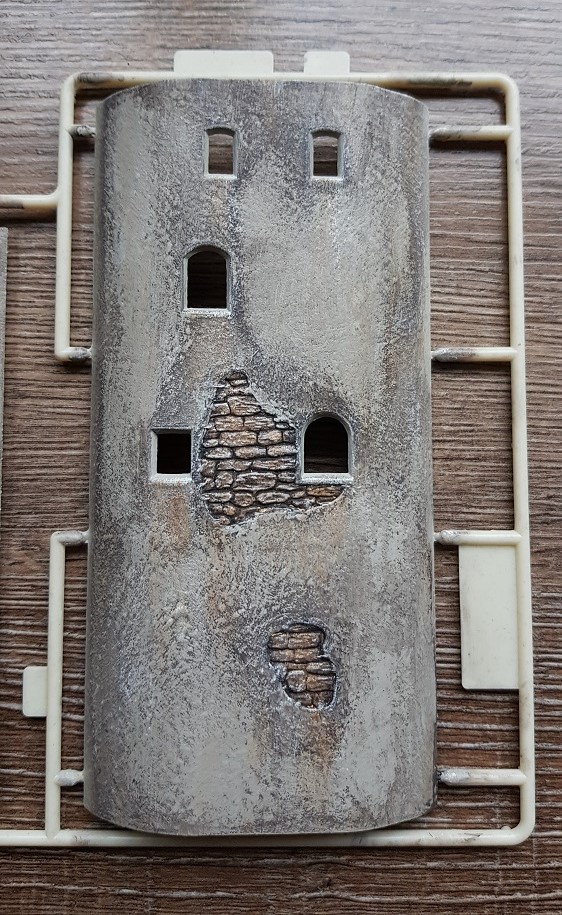
I mixed a completely new primer for the walls, which looked like slate.
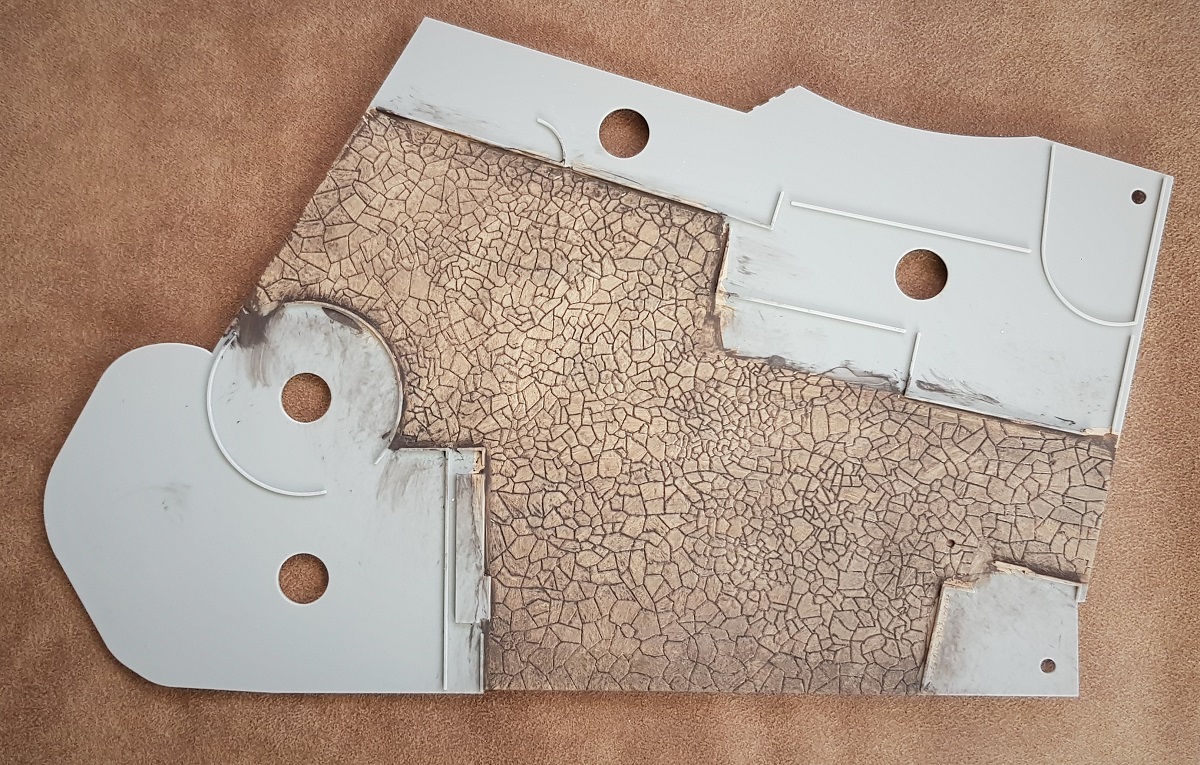
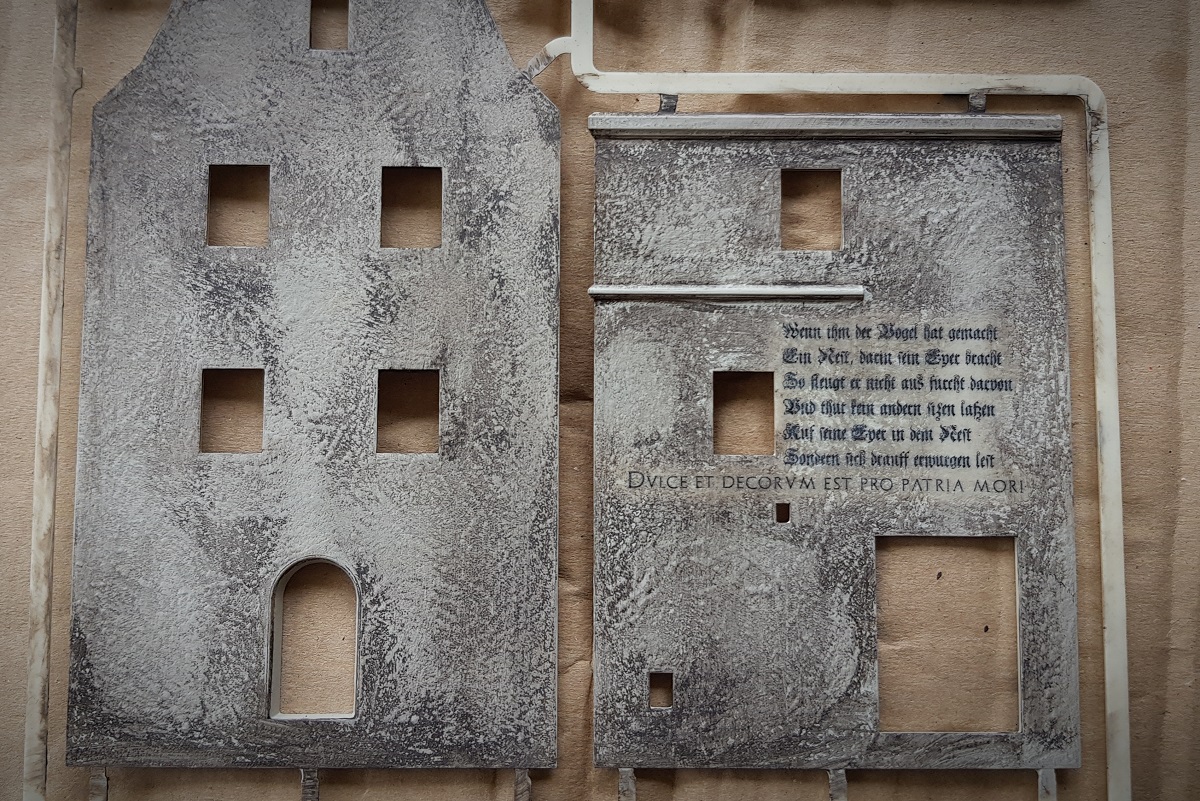
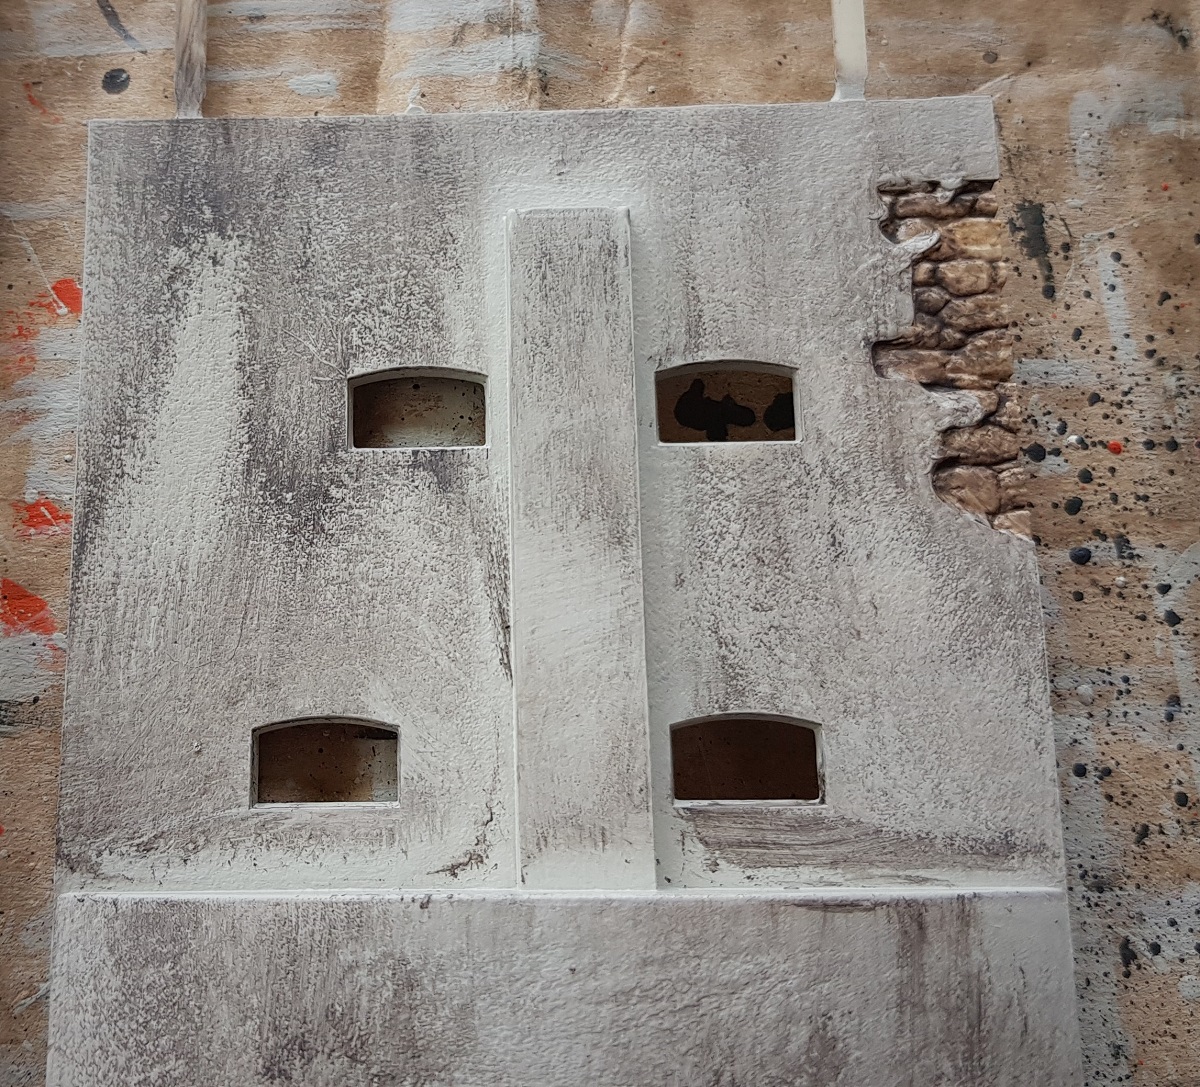
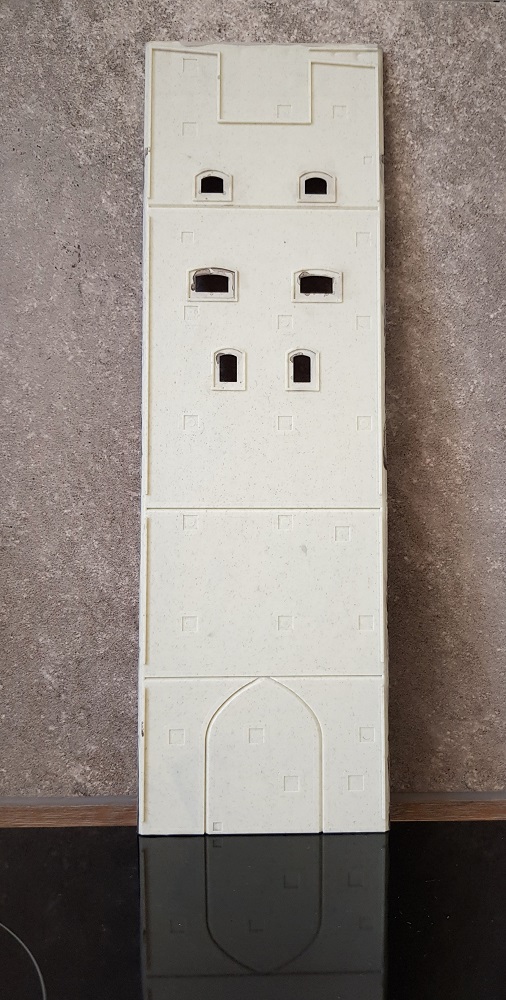
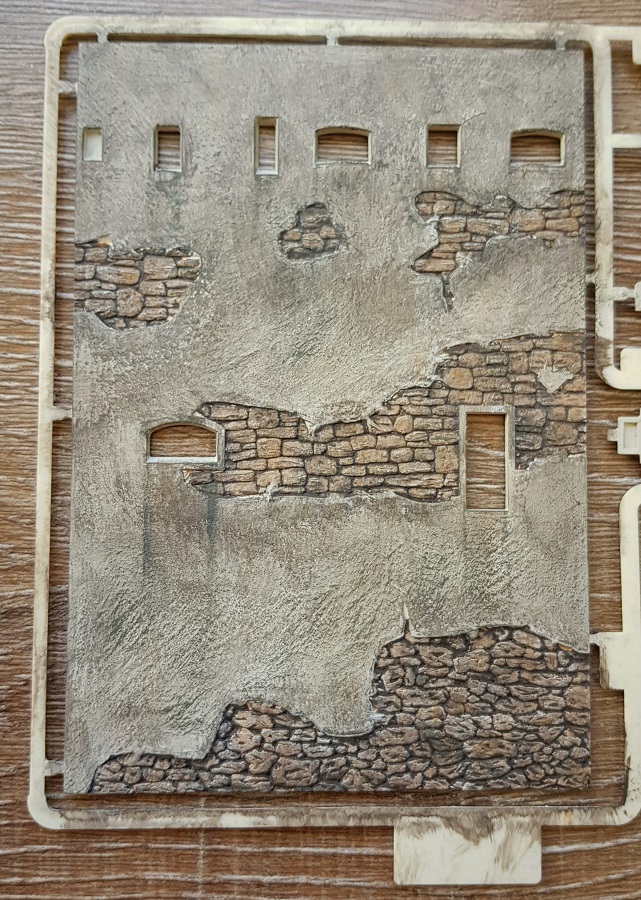
Although Faller preprinted the stones (where the putty layer has disappeared, left part), I found it all in all too photo-like.
You could clearly distinguish the pixels. As beautiful as it is, I painted it over anyway.
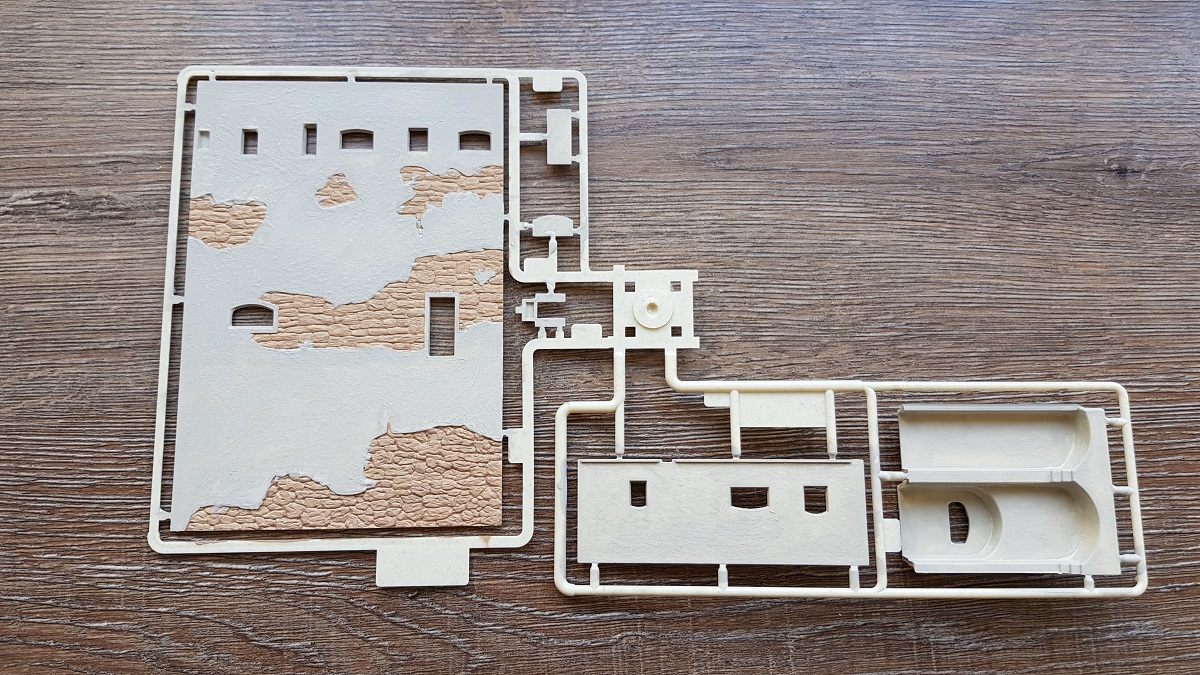
The ground layer of slate has been applied here...
... and on the rest
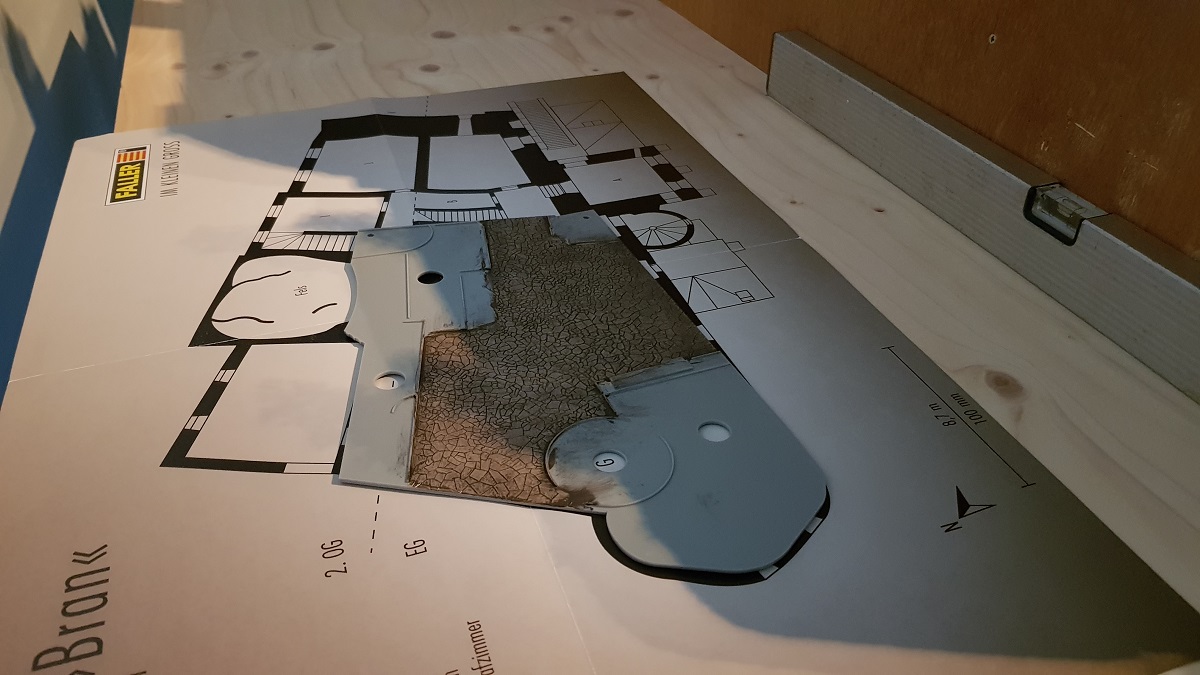
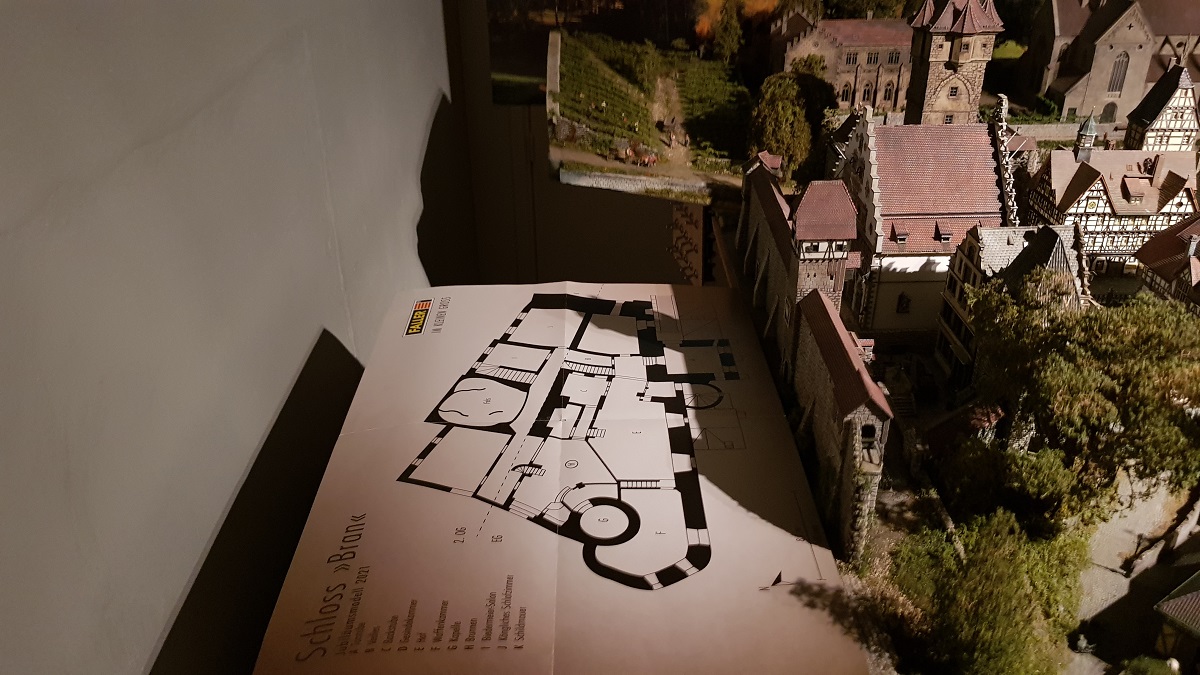
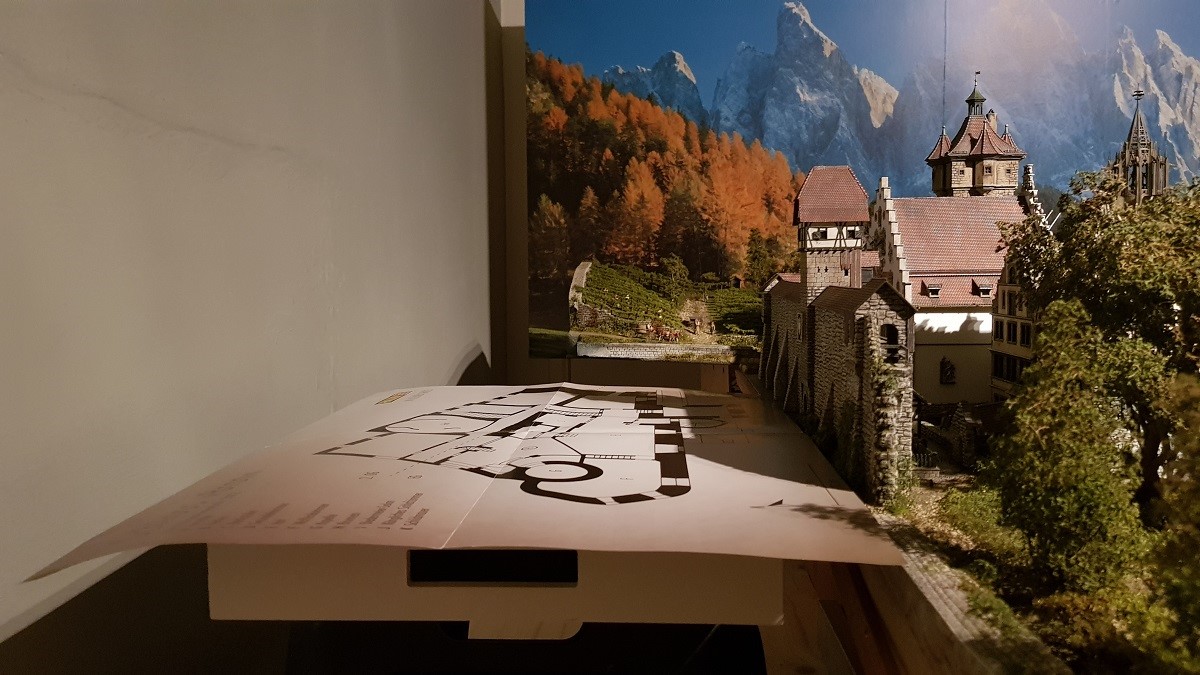
Sneak peek with map
~~~
20.6 ~ Painting Walls and Stonework
(Sunday, April 10, 2022)

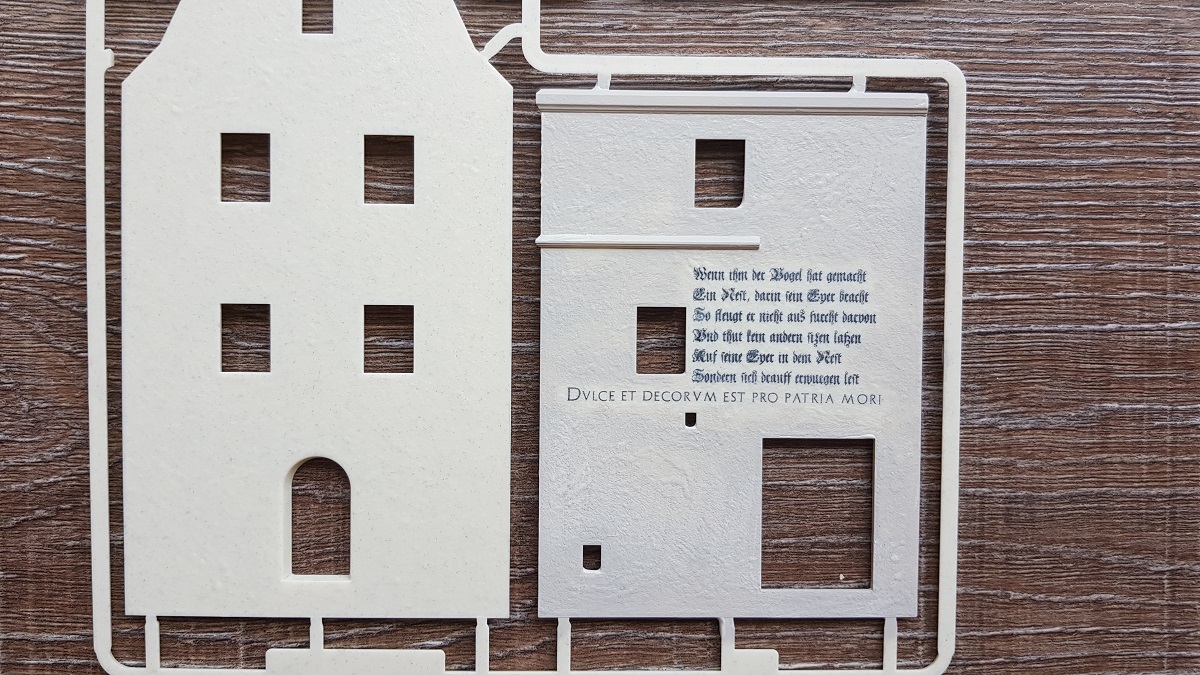
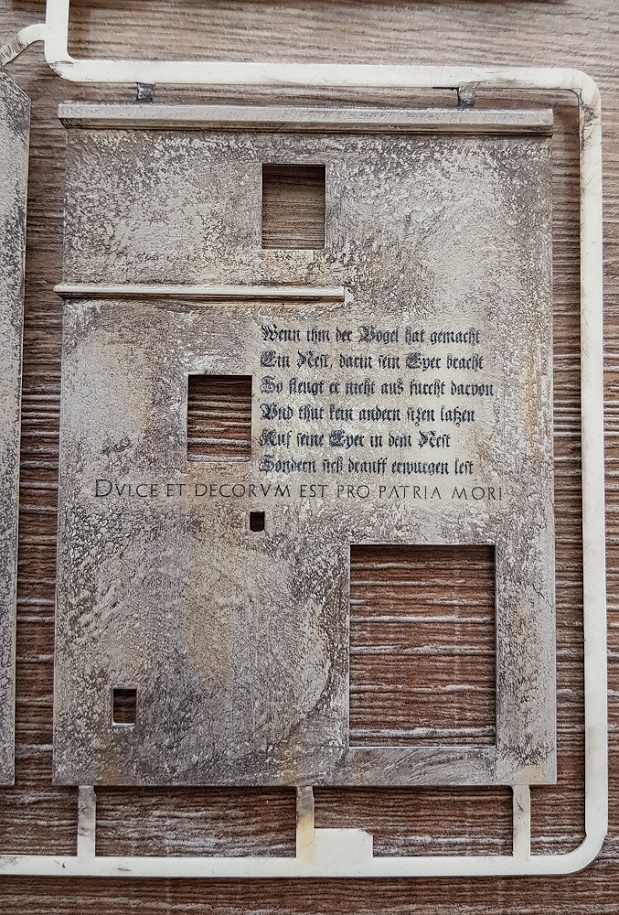
I was quite concerned about this imprint, as I insisted on patinating and
weathering the entire building.
But my concern turned out to be unfounded.
Neither the primer nor the subsequent weathering had any adverse effect on the text, but only made the wall section all the more beautiful.
But I'm getting ahead of the matter now...
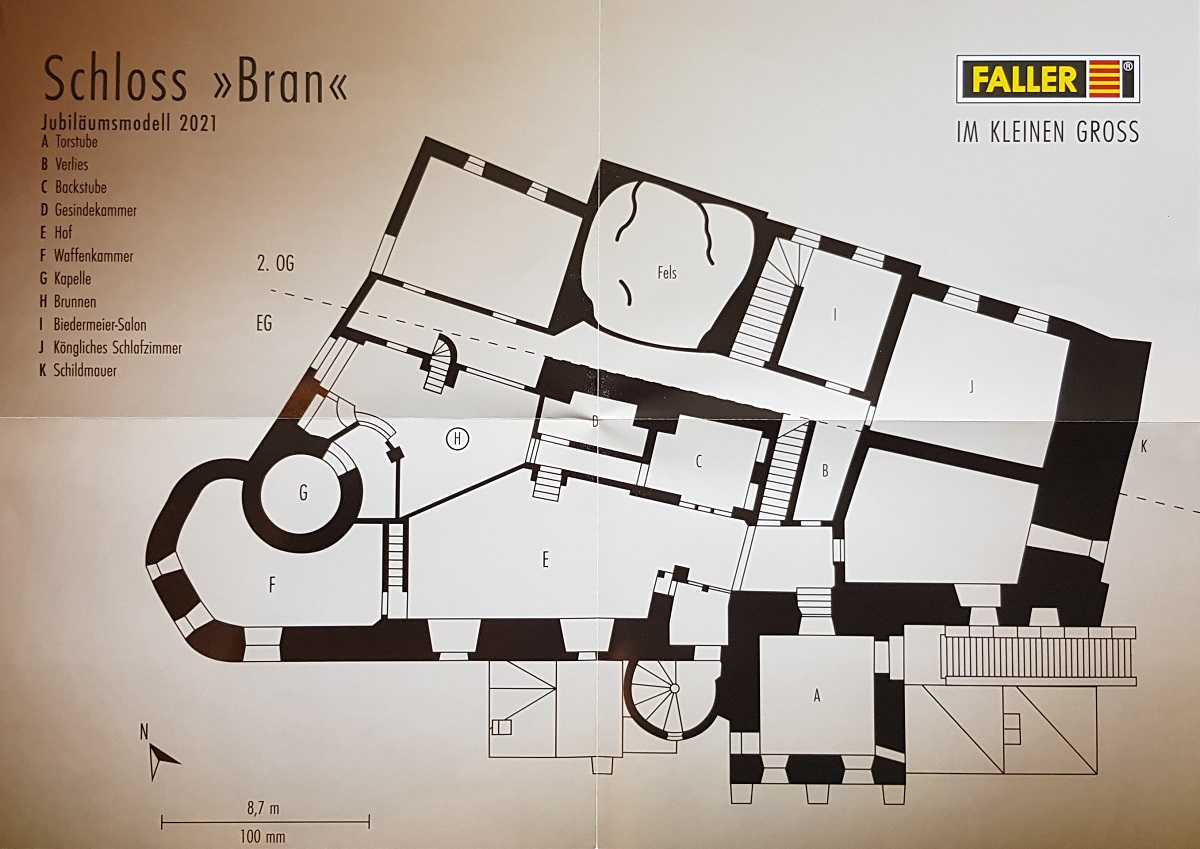
In the evening I laid out the map at street level to give myself an impression of the castle in relation to the city wall.
~~~
20.7 ~ Doors and windows
( April 12, 2022)
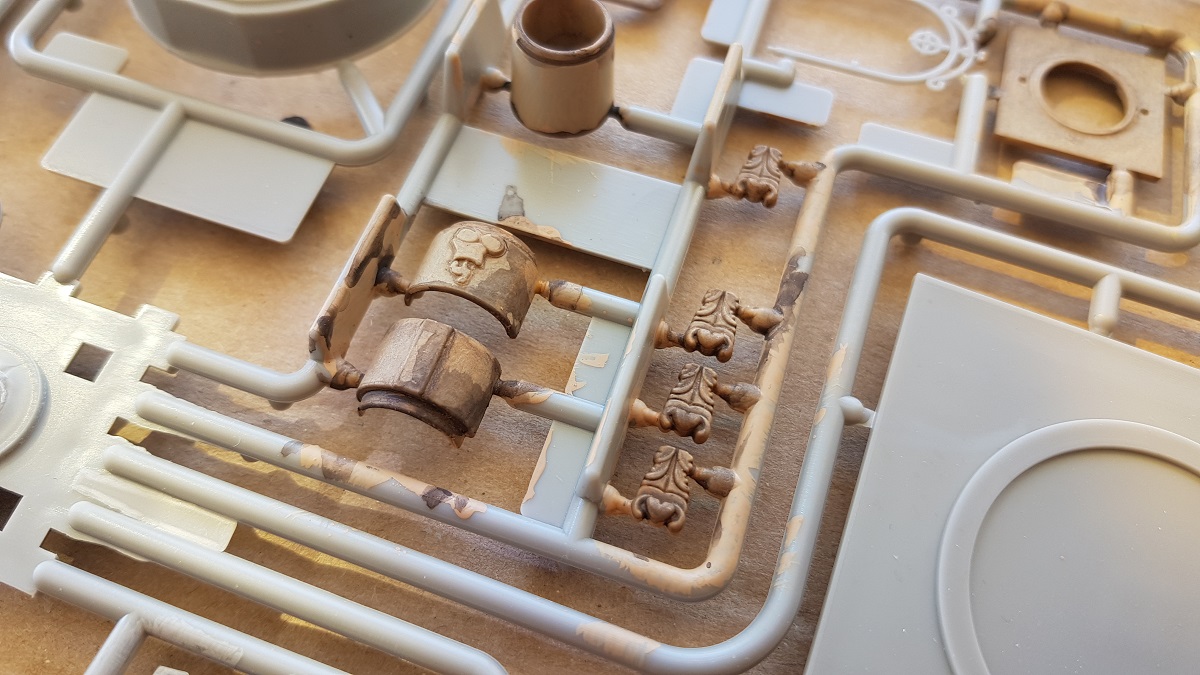
Just for the woodwork of doors and window frames, it took me several hours to paint them.
I chose a dark mix of black and green and a few drops of Prusian blue.
~~~
20.8 ~ Inventing a new technique!
( April 13, 2022)
When applying the lasur layer (Helki Dur Lasur, 7103), I initially thought I had only two techniques at my disposal.
The classic way that Heki prescribes: apply a thick layer of lasur and remove it immediately with a wet sponge.
However, this was going to cost my entire stash of lasur with so many wall
pieces.
The second method was to apply a thin coating of water-thinned lasur.
As a test I worked a part of a wall with the latter method. After drying this turned out not to really work...
By sheer coincidence I discovered a third method, which was both beautiful and also conserved material.
While I treated the stone areas (where the stucco has disappeared) in the classic way described earlier, I had to wipe the edges of the stucco immediately.
On closer inspection, the latter turned out to have a nice effect on the entire
stucco.
This became the third method: apply a few strokes of thick lasur,
then spread it evenly over the entire area with a wet towel, and finally wipe
the lasur away again with a semi-dry cloth.
Since the drying time of the
lasur is a maximum of ten to twenty seconds, I could not afford any
distractions.

A heck of a work indeed...
~~~
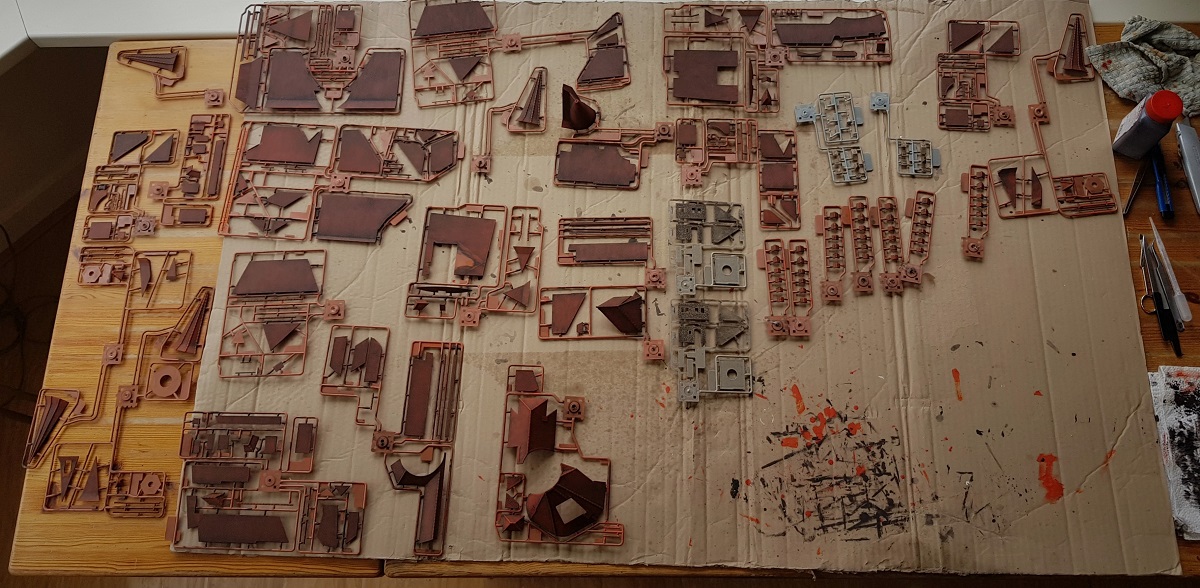
20.9 ~ Applying orange brown
(April 14-16, 2022)
To prevent the castle from getting the look of concrete, two more colors have to be applied before I finish the whole with dry white: orange brown and moss green.
Just applying orange brown took me three days.
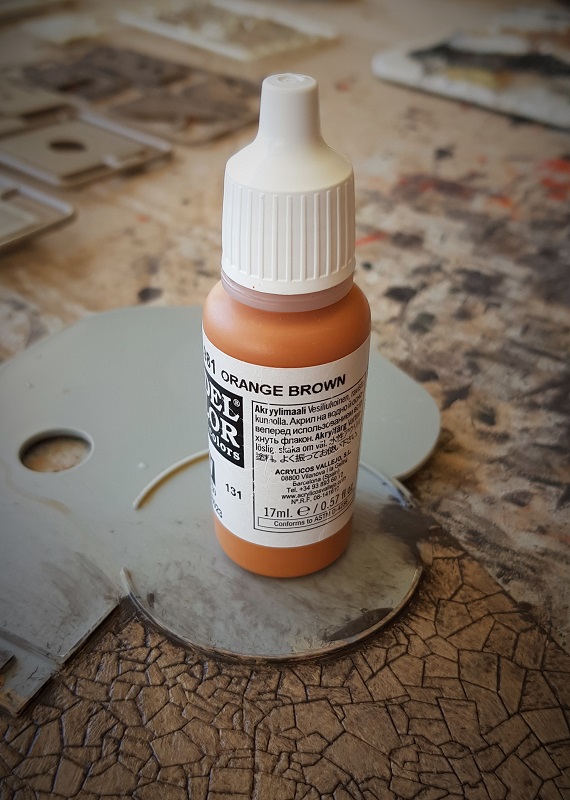
The stones should in any case be slightly lifted in terms of color.

16.2.2022
~~~
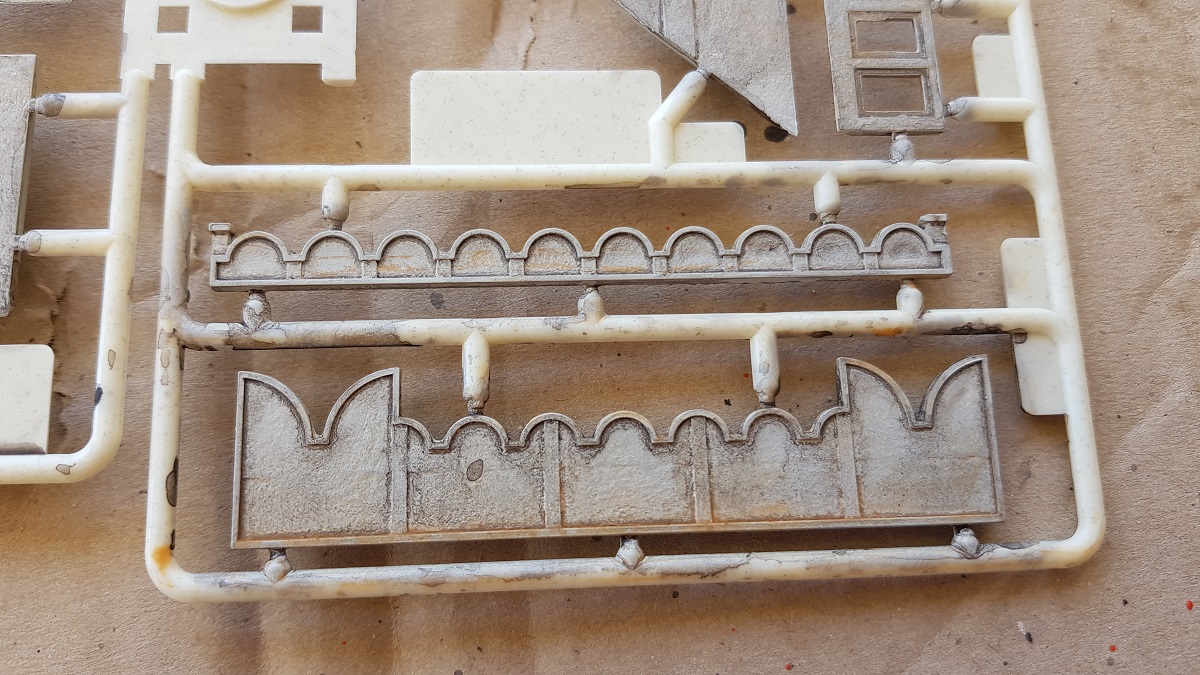
20.10 ~ Applying Dry White Brush
(April 17. 2022)
It took me some hours to dry white brush all parts needed...


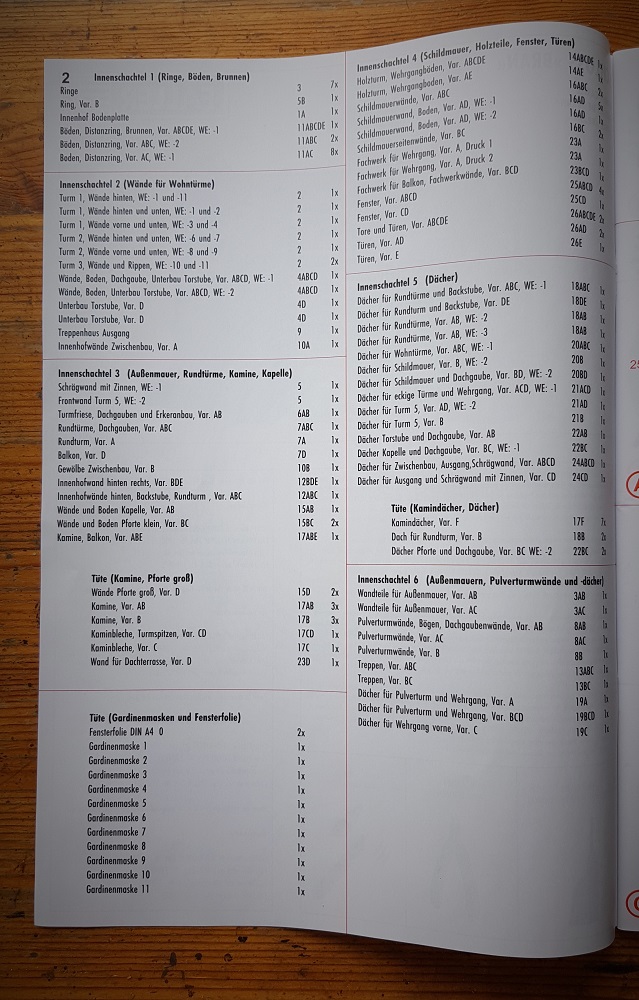
To me, this is the most awesome part out of 1102 pieces...
The Construction of Schloss Cochem is told in the next chapter
~~~
Frits Osterthun © 11.5.2022
Last update: 7.2.2023